Looking for a heartfelt way to impress your boyfriend this Valentine’s Day?
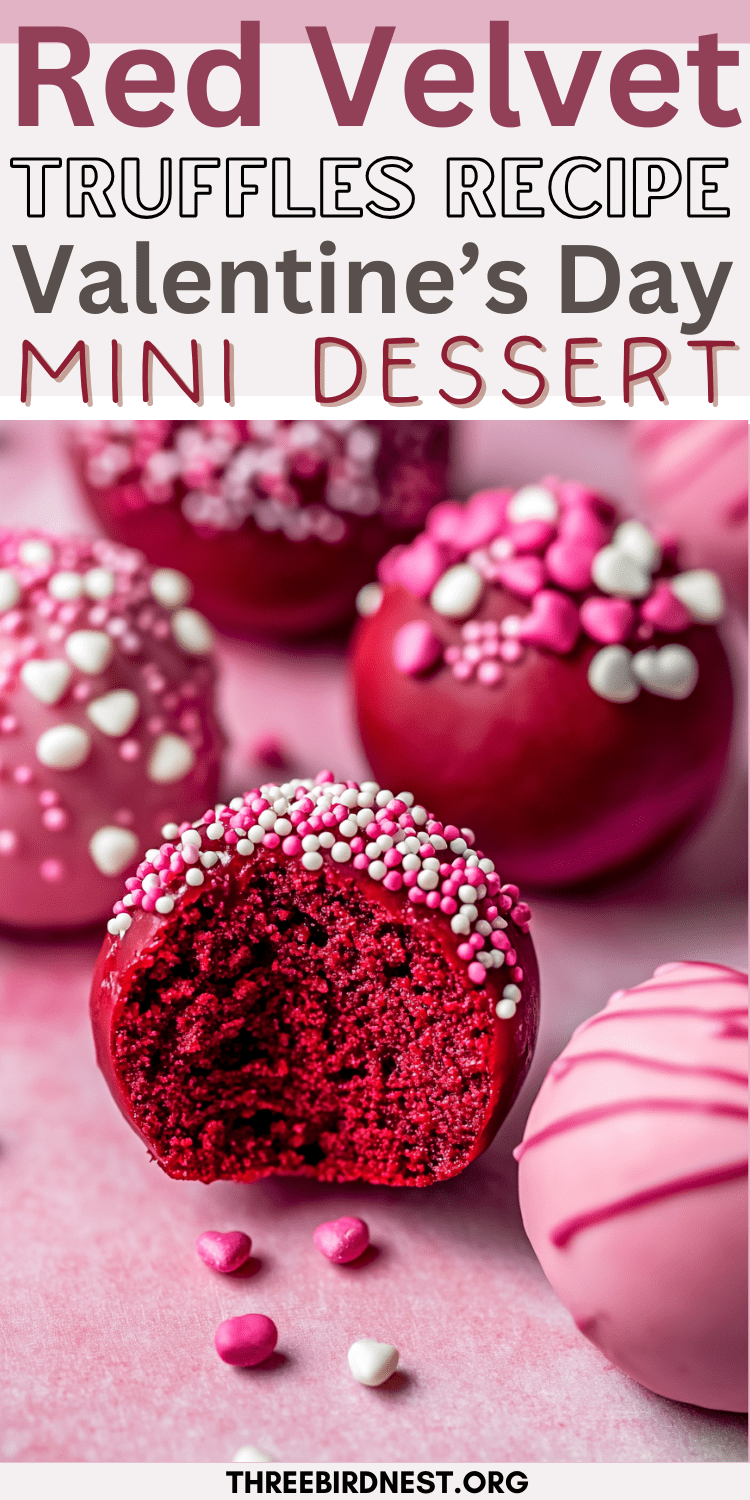
These Red Velvet Truffles are the answer. Combining the indulgent charm of red velvet desserts with a creamy center and a crisp white chocolate shell, they’re the ultimate DIY Valentine’s gift for your boyfriend or partner.
These Red Velvet Truffles are also a great Anniversary Dessert Idea as well.
The rich, vibrant red hue perfectly complements the Valentine’s Day aesthetic, making these bite-sized treats both romantic and delicious.
Whether you’re planning a cozy night in or adding a personal touch to your Valentine’s Day boyfriend ideas, these truffles are an easy yet impressive way to show your love.
Let’s explore how to make this thoughtful dessert and why it’s a standout among Valentine’s Day treats.
DIY Valentine’s Gifts for Your Boyfriend: Red Velvet Truffles for a Valentine’s Day Aesthetic
Step 1: Prepare the Red Velvet Cake
Start by preheating your oven and mixing the red velvet cake batter as directed on the box. Pour the batter into a greased 9×13-inch pan and bake according to the package instructions. Keep an eye on the cake in the final minutes of baking, as red velvet can overbake quickly and lose its signature moist texture.
Once baked, allow the cake to cool completely. This step is crucial—warm cake will not crumble properly and can make the mixture too sticky when combined with the cream cheese.

Why This Step Matters:
The cake serves as the foundation for your truffles. Taking the time to bake it perfectly and let it cool ensures the right texture and consistency for the next steps.
Step 2: Create the Truffle Dough
Once your cake has cooled, use a knife to trim away the crisp edges. While the edges are delicious on their own, they can create a dry or inconsistent texture in the truffle dough, so they’re best left out.
Break the remaining cake into small pieces and place them in a large mixing bowl. Add the softened cream cheese to the crumbled cake. Using your hands is the easiest way to combine the ingredients until you achieve a smooth, dough-like consistency. It should be moist enough to hold together but not overly sticky.
Pro Tip: If you prefer less mess, you can use a stand mixer fitted with a paddle attachment, but working the dough by hand gives you more control over the texture.
Step 3: Roll and Chill the Truffles
Using a small cookie scoop or a tablespoon, portion out the dough and roll it into balls about the size of a walnut. Each ball should be roughly 2 tablespoons of the mixture. Place the rolled truffles on a baking sheet lined with parchment paper, spacing them slightly apart to prevent sticking.

Once all the dough is shaped, place the baking sheet in the freezer for at least 30 minutes. This step is essential for firming up the truffles, making them easier to coat in chocolate later.
Why This Step Matters:
Freezing solidifies the truffles, ensuring they hold their shape during the dipping process. Skipping this step could lead to soft or misshapen truffles.
Step 4: Melt the White Chocolate
While the truffles are chilling, prepare the coating. Chop your almond bark or white chocolate candy melts into smaller pieces for even melting. Place them in a microwave-safe bowl and heat in 30-second intervals, stirring well between each round. Continue until the chocolate is fully melted and smooth.
If the chocolate seems too thick for dipping, you can add a teaspoon of vegetable oil or shortening to thin it out. This makes it easier to coat the truffles evenly.

Pro Tip: Avoid overheating the chocolate, as it can seize up and become unusable. Stirring frequently helps distribute the heat and ensures a glossy finish.
Step 5: Dip and Decorate
Now comes the fun part! Remove the truffles from the freezer. Using a fork or a candy-dipping tool, dip each truffle into the melted white chocolate. Tap the fork gently against the side of the bowl to remove any excess coating.
Place the dipped truffles back onto the parchment-lined baking sheet. While the chocolate is still wet, add sprinkles or drizzle with additional melted chocolate for an extra touch of elegance. You can even use cake crumbs to garnish for a unique presentation.

Why This Step Matters:
The coating not only seals in the flavor but also adds a satisfying crunch. Decorating the truffles makes them visually appealing, perfect for gifting or serving at special events.
Step 6: Set the Coating
Once all the truffles are dipped and decorated, allow the chocolate to set. You can speed up this process by placing the tray back in the freezer for a few minutes. Alternatively, let them harden at room temperature if you’re not in a rush.
After the chocolate has fully hardened, your Red Velvet Truffles are ready to enjoy!
Pro tip: You can color your white chocolate with certain food coloring to give your truffles a richer hue. To color white chocolate, use oil-based candy coloring made specifically for chocolate or powdered candy coloring. Avoid liquid food coloring or gel icing colors, as their water content can cause the chocolate to seize, leading to hardening or thickening.

Now that you’ve got all the tips and tricks, it’s time to get started on your own batch of Red Velvet Truffles. Follow the detailed steps above, and scroll down for the quick recipe to save or print for future use!
Red Velvet Truffles Recipe
These Red Velvet Truffles are a decadent dessert made with moist red velvet cake, creamy filling, and a crisp white chocolate shell. They’re the ultimate treat for Valentine’s Day, Christmas, or any special occasion.
Prep Time: 10 minutes
Bake Time: 30 minutes
Chill Time: 30 minutes
Total Time: 1 hour 10 minutes
Ingredients
- 1 box of red velvet cake mix
- Ingredients as directed on the cake box (water, oil, eggs)
- 10 ounces of softened cream cheese
- 12 ounces of almond bark or white chocolate candy melts
- Decorative sprinkles
Directions
1. Bake the Cake
Prepare the red velvet cake according to the instructions on the box, using a 9×13-inch pan. Let the cake cool completely before moving on.
2. Prep the Cake Base
Cut off and discard the crispy edges of the cake. Break the remaining cake into crumbs in a large mixing bowl. Add the softened cream cheese to the crumbs and mix until it forms a dough-like consistency. For best results, use your hands to combine the ingredients thoroughly.
3. Form the Truffle Balls
Scoop approximately 2 tablespoons of the cake mixture and roll it into a ball. Repeat with the remaining mixture and arrange the balls on a parchment-lined baking sheet. Place the sheet in the freezer for about 30 minutes, or until the balls are firm.
4. Melt the Coating
Melt the almond bark or white chocolate candy melts in a microwave-safe bowl, heating in 30-second intervals. Stir after each interval until the coating is smooth and melted completely.
5. Dip the Truffles
Using a fork or candy-dipping tool, coat each chilled cake ball in the melted chocolate. Gently tap off the excess coating, then place the truffles back onto the parchment paper.
6. Add Toppings
Before the chocolate hardens, decorate the truffles with festive sprinkles. For added flair, drizzle melted chocolate over the top or sprinkle with leftover cake crumbs.
7. Set and Enjoy
Allow the coated truffles to set completely by chilling them briefly in the freezer or leaving them at room temperature. Once the chocolate shell is firm, your truffles are ready to serve!

A Sweet Ending to Your Valentine’s Day
These Red Velvet Truffles aren’t just desserts; they’re a gesture of love wrapped in rich flavors and a festive Valentine’s Day aesthetic.
Whether you’re surprising your boyfriend or partner with a thoughtful DIY Valentine’s gift or adding a touch of romance to your Anniversary celebration, these treats deliver both taste and charm.
Their vibrant red hue and indulgent texture make them the perfect addition to your list of Valentine’s Day boyfriend ideas.

Treat your special someone to a dessert that’s as heartfelt as it is delicious, and make this Valentine’s Day one to remember.
Enjoy!
Pin It On Pinterest For Later!


The time will change soon, decorations will go up and festive treats will be in order!
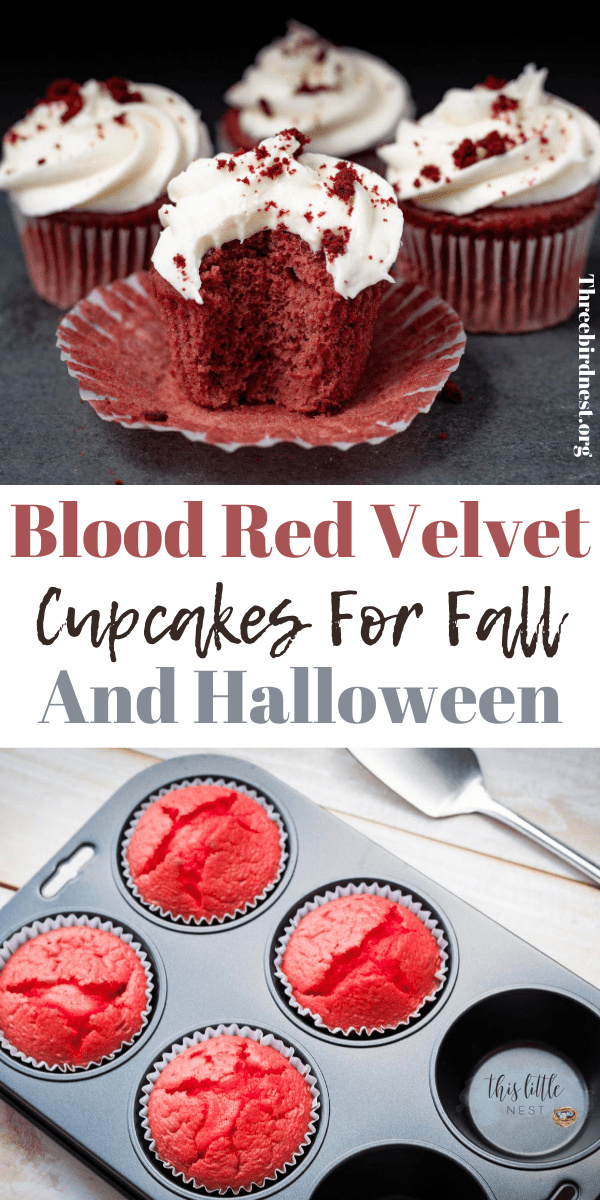
Fall is my favorite time of year and we love making it special. We like to make crafts and bake fun things like these Bloody Red Velvet Cupcakes ( No real blood required, lol ).
You make these cupcakes as simple or as festive as you want.
We’re keeping ours simple but if you really want to spice up Halloween you can add something fun like red sauce on top with some little hatchets or candy eyeballs, and cats.
While the name might sound gruesome. You can dig in with a smile knowing they are actually a devilishly fun take on the always popular Red Velvet recipe!
Check it out below!
Cupcakes For Halloween | Blood Red Velvet Cupcakes
Pin it On Pinterest For Later!

Cupcake Recipe:
- 2½ cups flour
- 1 tbsp. cocoa powder
- 1½ tsp. baking soda
- ½ tsp. salt
- ½ cup butter, softened, plus 4 tbsp.
- ¼ cup softened shortening
- 1 cup of sugar
- 1 egg
- 1 tsp. vanilla
- 1 TBSP Red Velvet extract
- 1 cup milk
- 1 tbsp. Red gel food color

Directions for Cupcakes:
- Preheat oven to 350 degrees.
- Line cupcake tins with paper liners.
- Sift flour, cocoa, baking soda, and salt altogether.
- Mix the dry ingredients with a wire whisk for 3 minutes
- In a separate bowl using an electric mixer, beat the butter, shortening, and sugar until it is light and creamy.
- Add the egg, vanilla, red velvet extract, and red gel food coloring.
- Mix well.
- Add flour mix and milk, 1/2 portion of each at a time, mix until completely combined.
- Spoon the batter into the lined cupcake tins until 2/3’s filled.
- Bake at 350 degrees for 20-22 minutes or until an inserted toothpick comes out clean.
- Cool for 10 minutes
- Remove from cupcake tins to a wire rack until totally cooled.
Cream Cheese Frosting Ingredients:
- 1 C. unsalted butter softened
- 1 C. cream cheese softened
- 2 tsp. vanilla
- 2 C. powdered sugar
- 5 tbsp. heavy whipping cream

Frosting Directions:
- Cream the butter and cream cheese until creamy.
- Mix on low.
- Slowly add powdered sugar until blended.
- Add vanilla and heavy whipping cream and beat until thoroughly combined.
- Scoop the frosting into a pastry bag with a large frosting tip.
- Frost the cupcakes and place the icing transfer into the center of the cupcake
Blood Icing Ingredients:
- 1 egg white
- 1/4 tsp cream of tartar
- 3/4 C powder sugar
- 1/4 tsp vanilla
- 1 rubber bbq brush
- red gel food coloring
- 1 package of Wilton edible knife icing transfers

Blood Icing Directions:
- In a standing mixer, combine the egg white, cream of tartar, vanilla and powder sugar.
- Mix until white in color and stiff peaks about 7 minutes
- Mix in red food coloring
- Add a few more drops of red to get a deep shade of red, about 5 drops.
- If the icing is thick add in 1 tsp of water
- Place the cupcakes into an area where you won’t mind getting ‘blood’ on items
- Dip the bbq brush into the blood and shake the brush towards the cupcakes to give them the blood effect.
- Let dry for 10 minutes before enjoying.
It would be awesome if you shared this post on Pinterest for others to see. Just click on one of the images above to save it for later!!
Enjoy!
Pin It On Pinterest For Later!


S‘mores are so fun for summer and fall. They are the treat of the seasons and the kids love making them.
Around a campfire, or made in a microwave, we can’t seem to get enough of them!
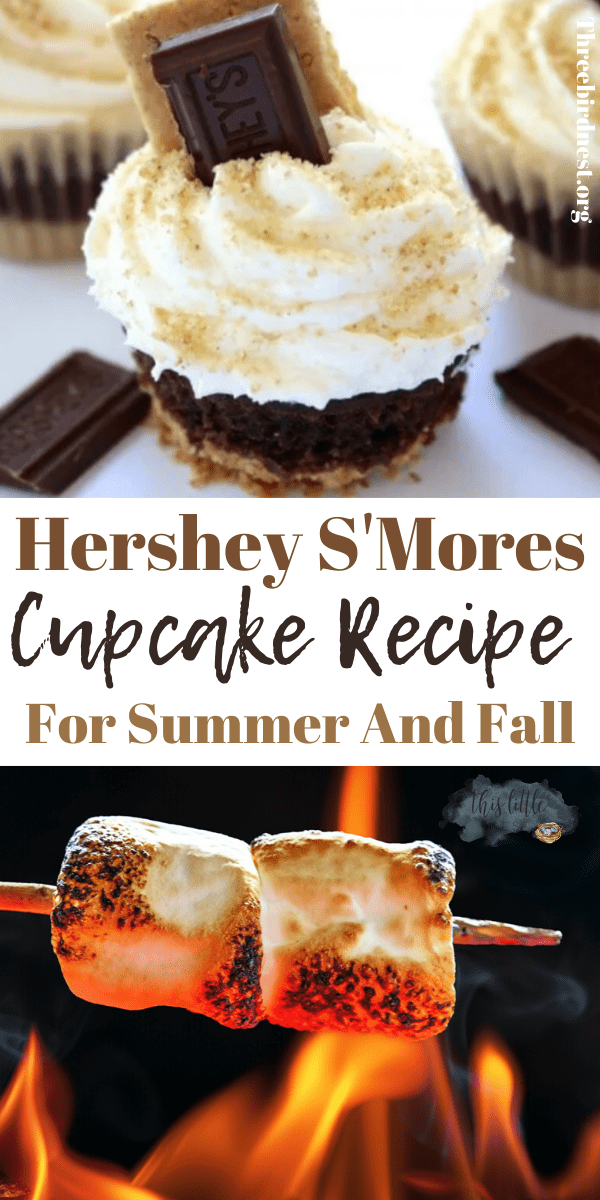
But have you ever had S’mores cake?! It’s fantastic and creative.
I’ve created a really easy and delicious recipe that takes the pleasure of a S‘more and brings it to the fun of a cupcake to create a dessert that I know your family will love!
This Hershey S’mores Cupcake recipe is perfect for sharing with friends and family.
It’s great for Summer, Camping or Fall-themed parties too.
You’ll find our awesome recipe below the Pinterest Image!
By the way, this post contains affiliate links at no extra cost to you. As an Amazon Associate, I earn from qualifying purchases.
Hershey S’mores Cupcakes Made Easy
Save it on Pinterest For Later!

Let’s start by getting everything together. Here’s a photo of what you’ll need. Gather up your ingredients and let’s get started.

Ingredients
1 1/2 cup Graham Cracker Crumbs (about 12 full sheets)
4 tbsp melted Butter
1/2 cup Sugar
1 box Chocolate Cake mix + box ingredients
1 1/2 cup softened Butter
1 1/2 cup Powdered Sugar
7 oz Marshmallow Creme
1/2 tsp Vanilla
And Hershey Bars To Add On Top


Directions
- Preheat oven to 350.
- Line cupcake pan with paper liners. Set aside.
- Pulse graham crackers in a food processor to make crumbs.
- Add melted butter and sugar and pulse to combine.
- Equally, divide crumb mixture in the bottom of each liner and gently press in place.
- Bake 7-10 minutes.
- Allow cooling.
- Prepare cake batter according to box directions.
- Fill each liner about 2/3 full and bake 15-20 minutes until the toothpick inserted in the center comes out clean.
- Allow cupcakes to cool.
- Cream butter and vanilla with a mixer until fluffy.
- Gradually add in powdered sugar until incorporated.
- Fold in marshmallow creme.
- Transfer to the piping bag with a round tip.
- Frost each cupcake.
- Garnish with graham cracker crumbs, graham crackers, chocolate or marshmallows.
- Refrigerate until ready to serve.

Related Posts:
- Instant Pot Peruvian Chicken Soup
- How To Make Creative Homemade Hot Chocolate For Wonderful Winter Fun!
- Homemade Baby Food Recipe | Banana Puree With Breast Milk
- 8 Healthy Breakfast Smoothies For Vibrant Health!
One of the things I love about this Hershey s’mores Cupcakes recipe is that you get all the flavor without the mess!
These are perfect for dessert, a Birthday party during the Fall, or just for sharing at a picnic.
I hope you enjoy them!!
If you love this recipe it would be great if you’d share it with your friends or save it on Pinterest for Later!
Pin It On Pinterest For Later!
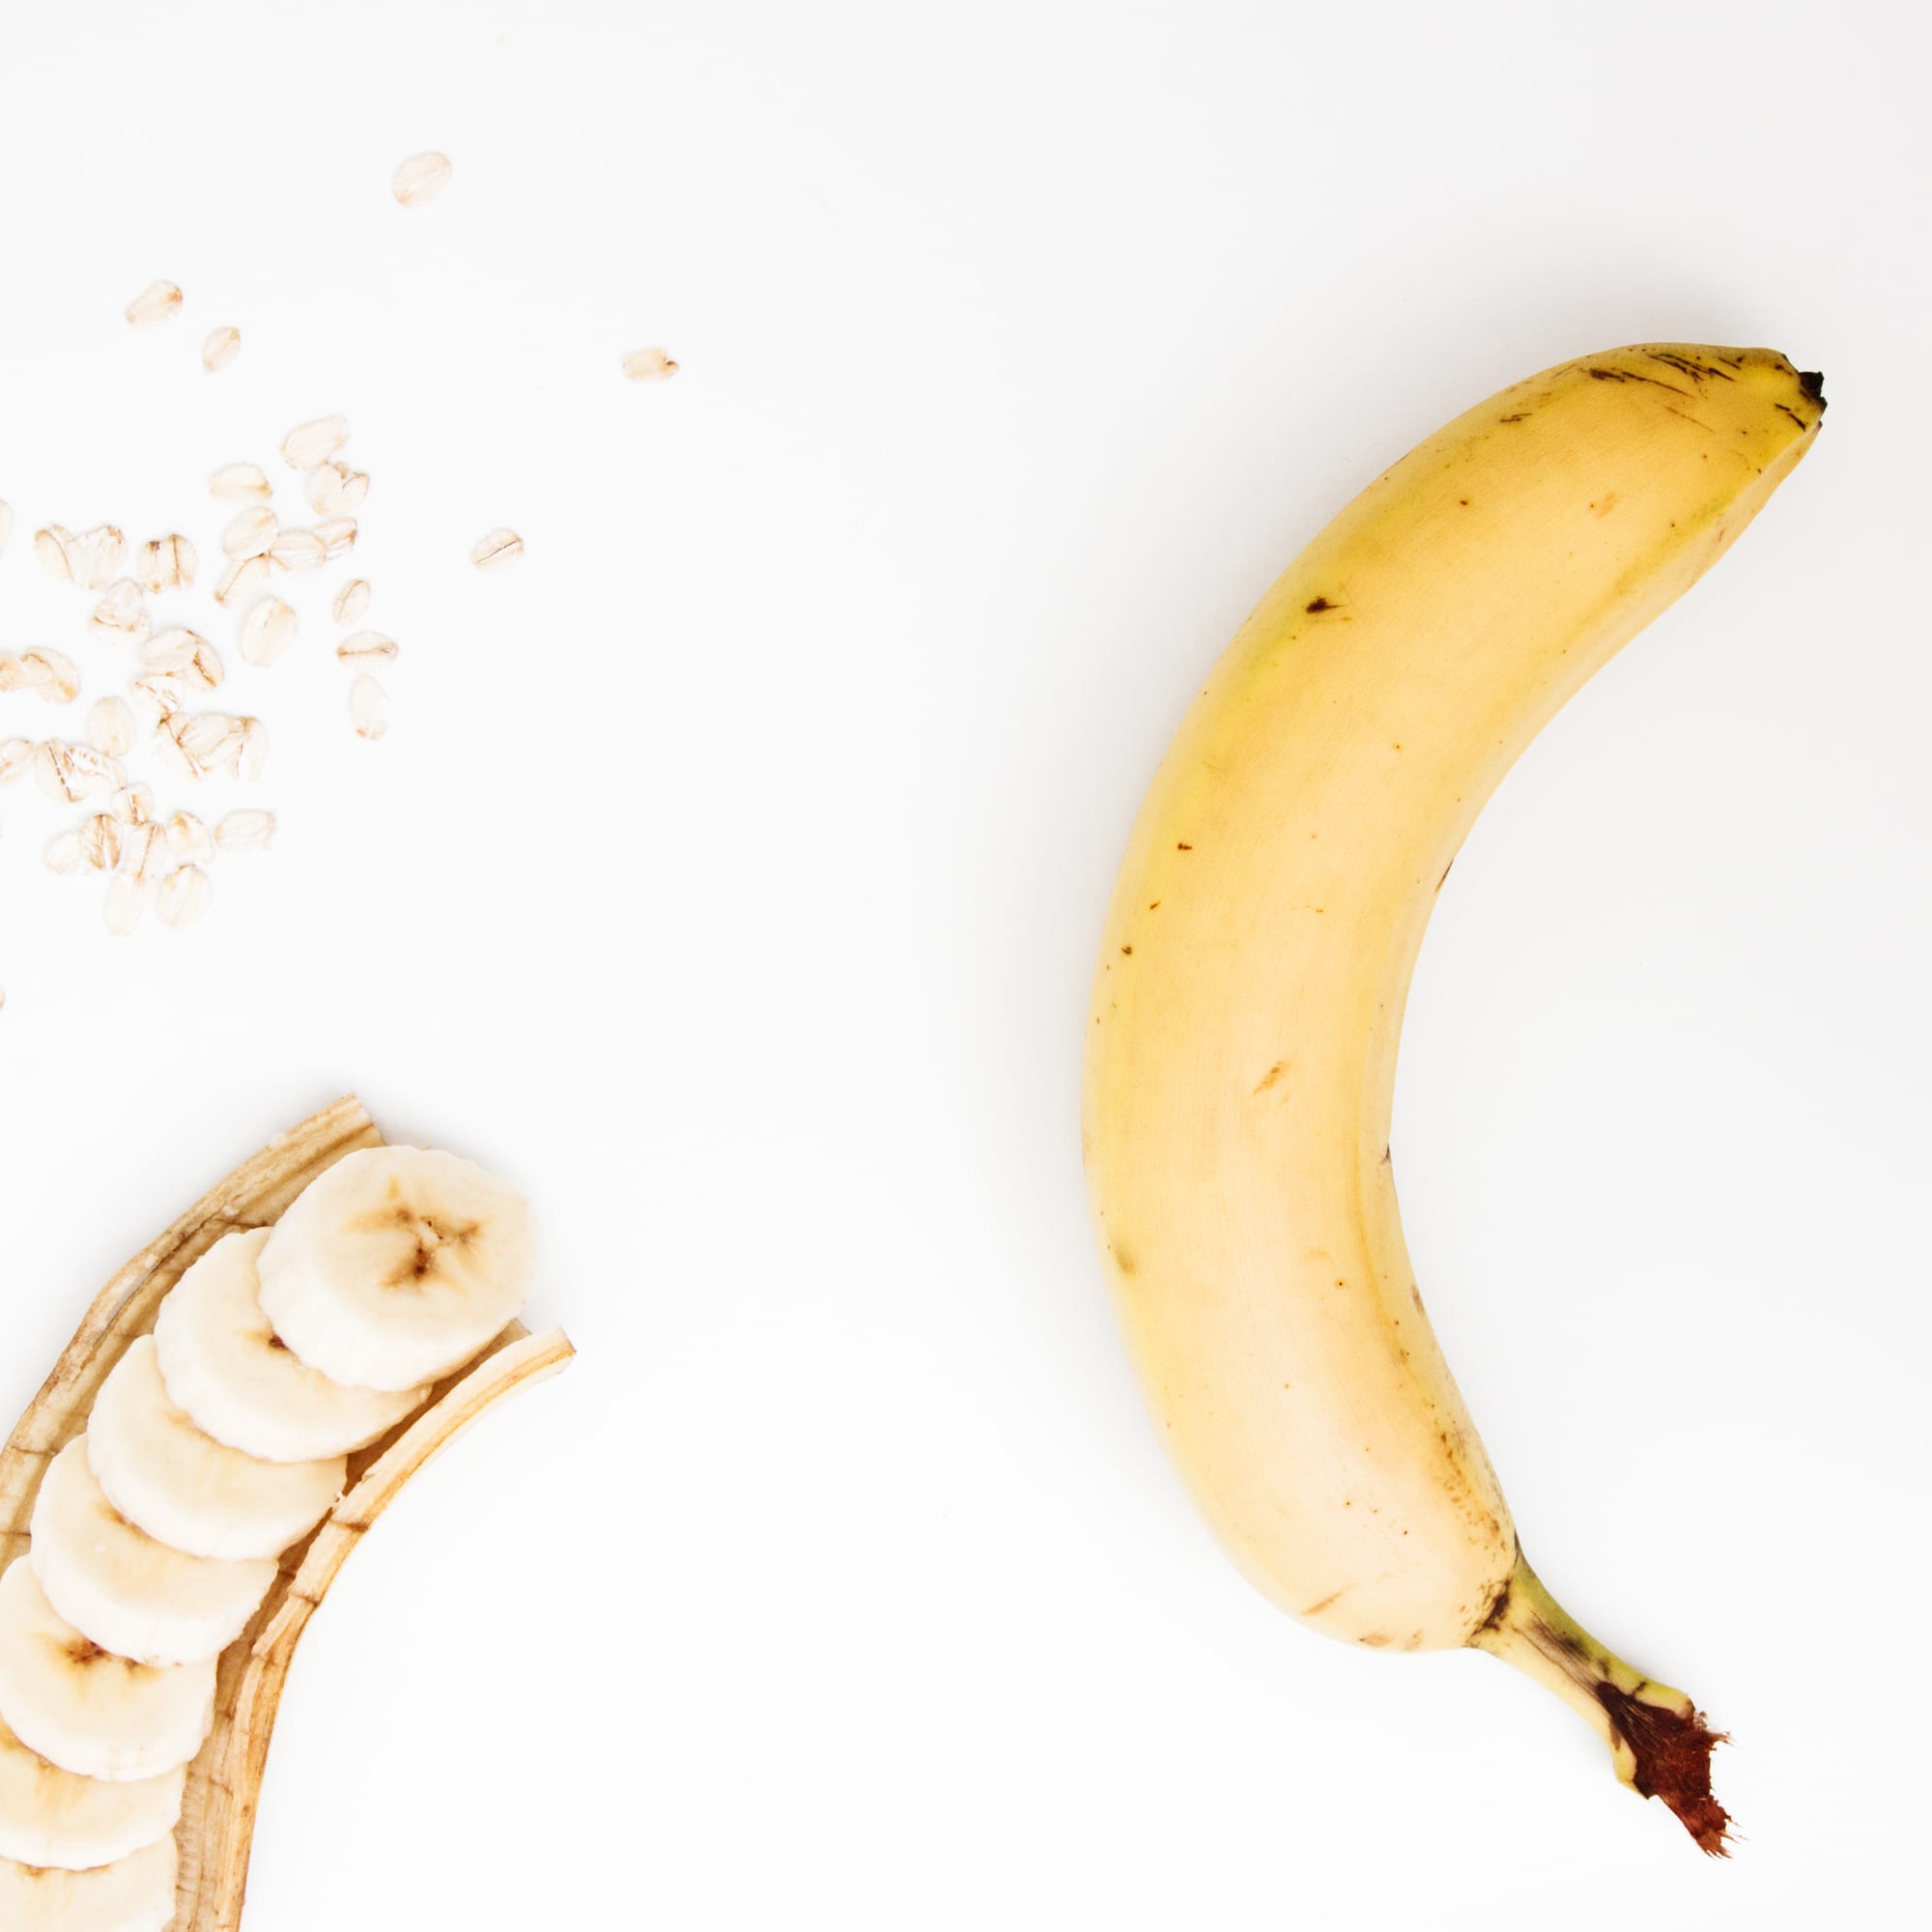
Bananas are nutrient-rich, full of healthy potassium and they have a creamy, sweet taste that babies have always loved.
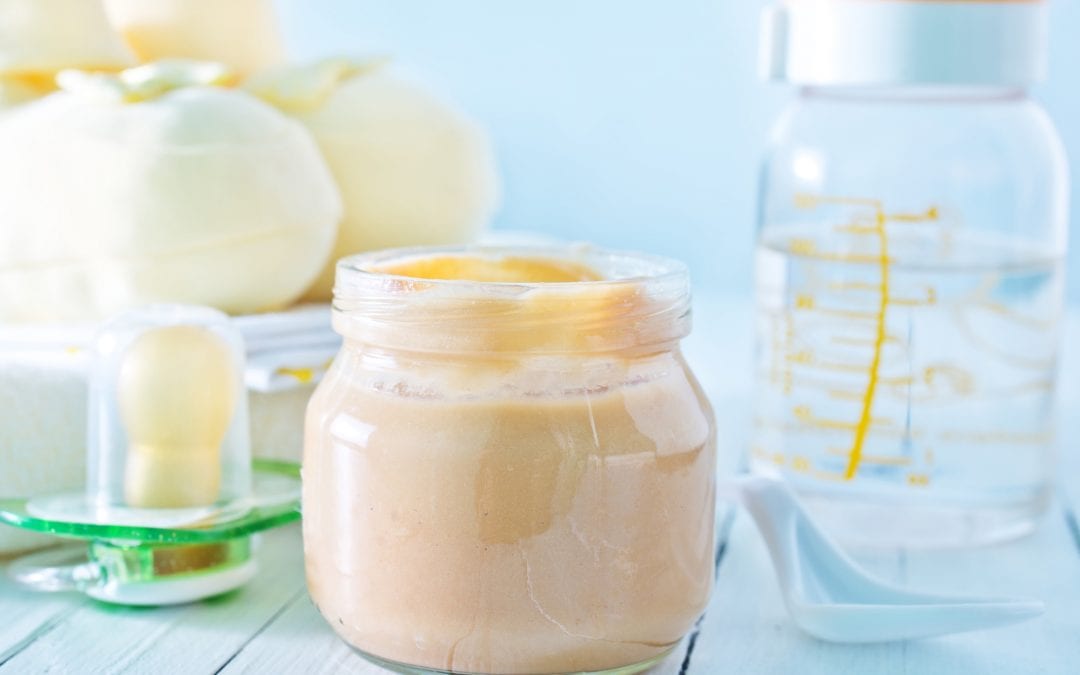
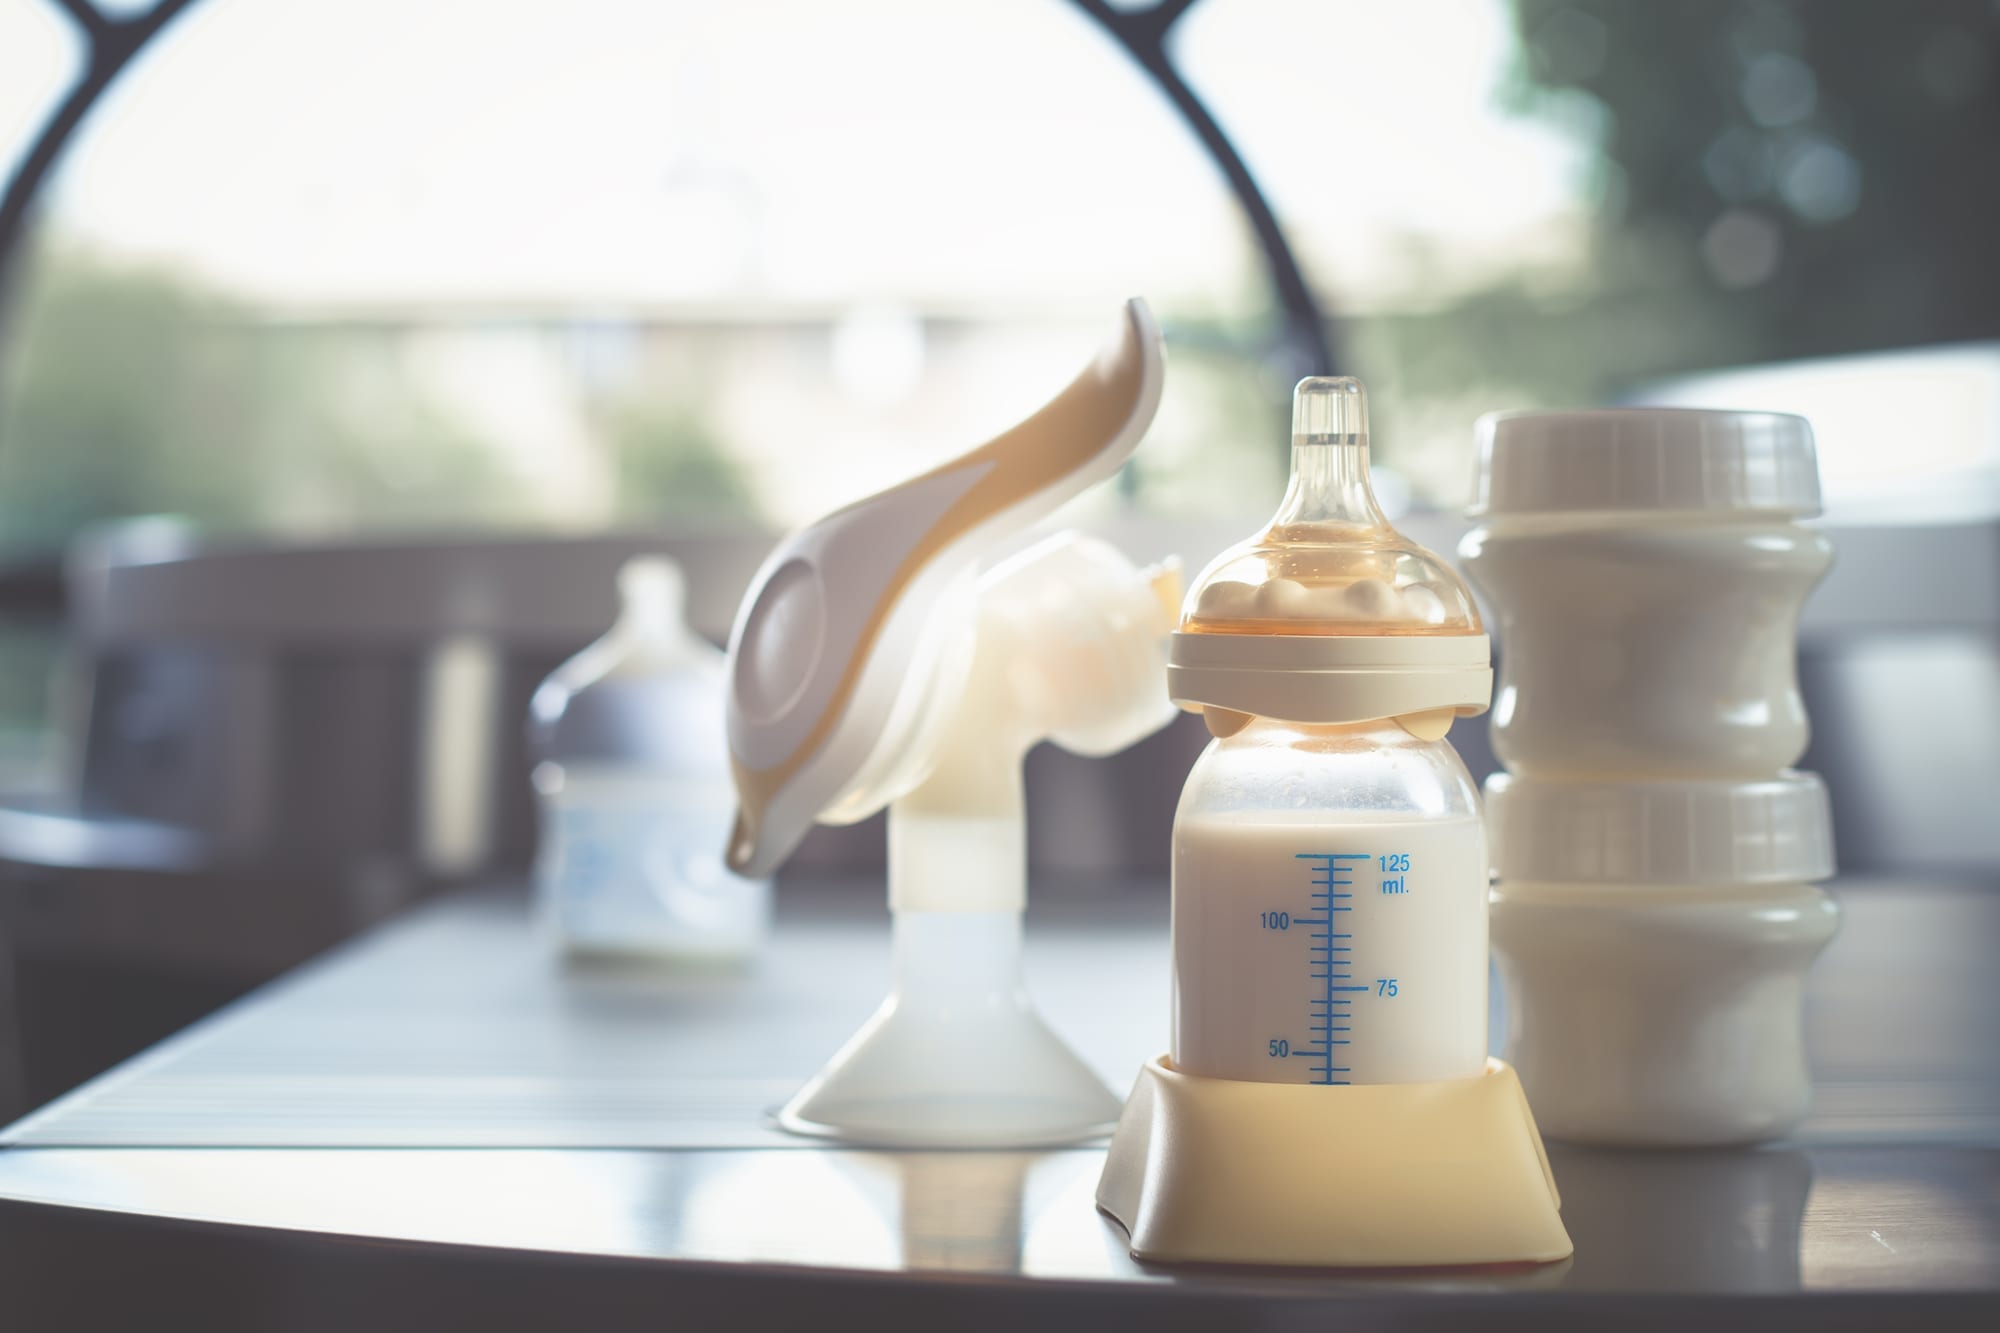
When you add breastmilk ( or a little bit of formula if you choose ) you have awesome baby food.
This is the perfect banana puree for a 5-month-old baby to try when he is ready to try solids. It only takes a few minutes and it’s so much healthier than store-bought jarred food.
Stay away from that….
Check out the recipe below and watch the short video above after the advertisement to see it being made. Enjoy!
[postgopher]
By the way, this post contains affiliate links at no extra cost to you. As an Amazon Associate, I earn from qualifying purchases. This helps me keep my blog up and running and I only list products that I love and have used myself. Thank you for your support!
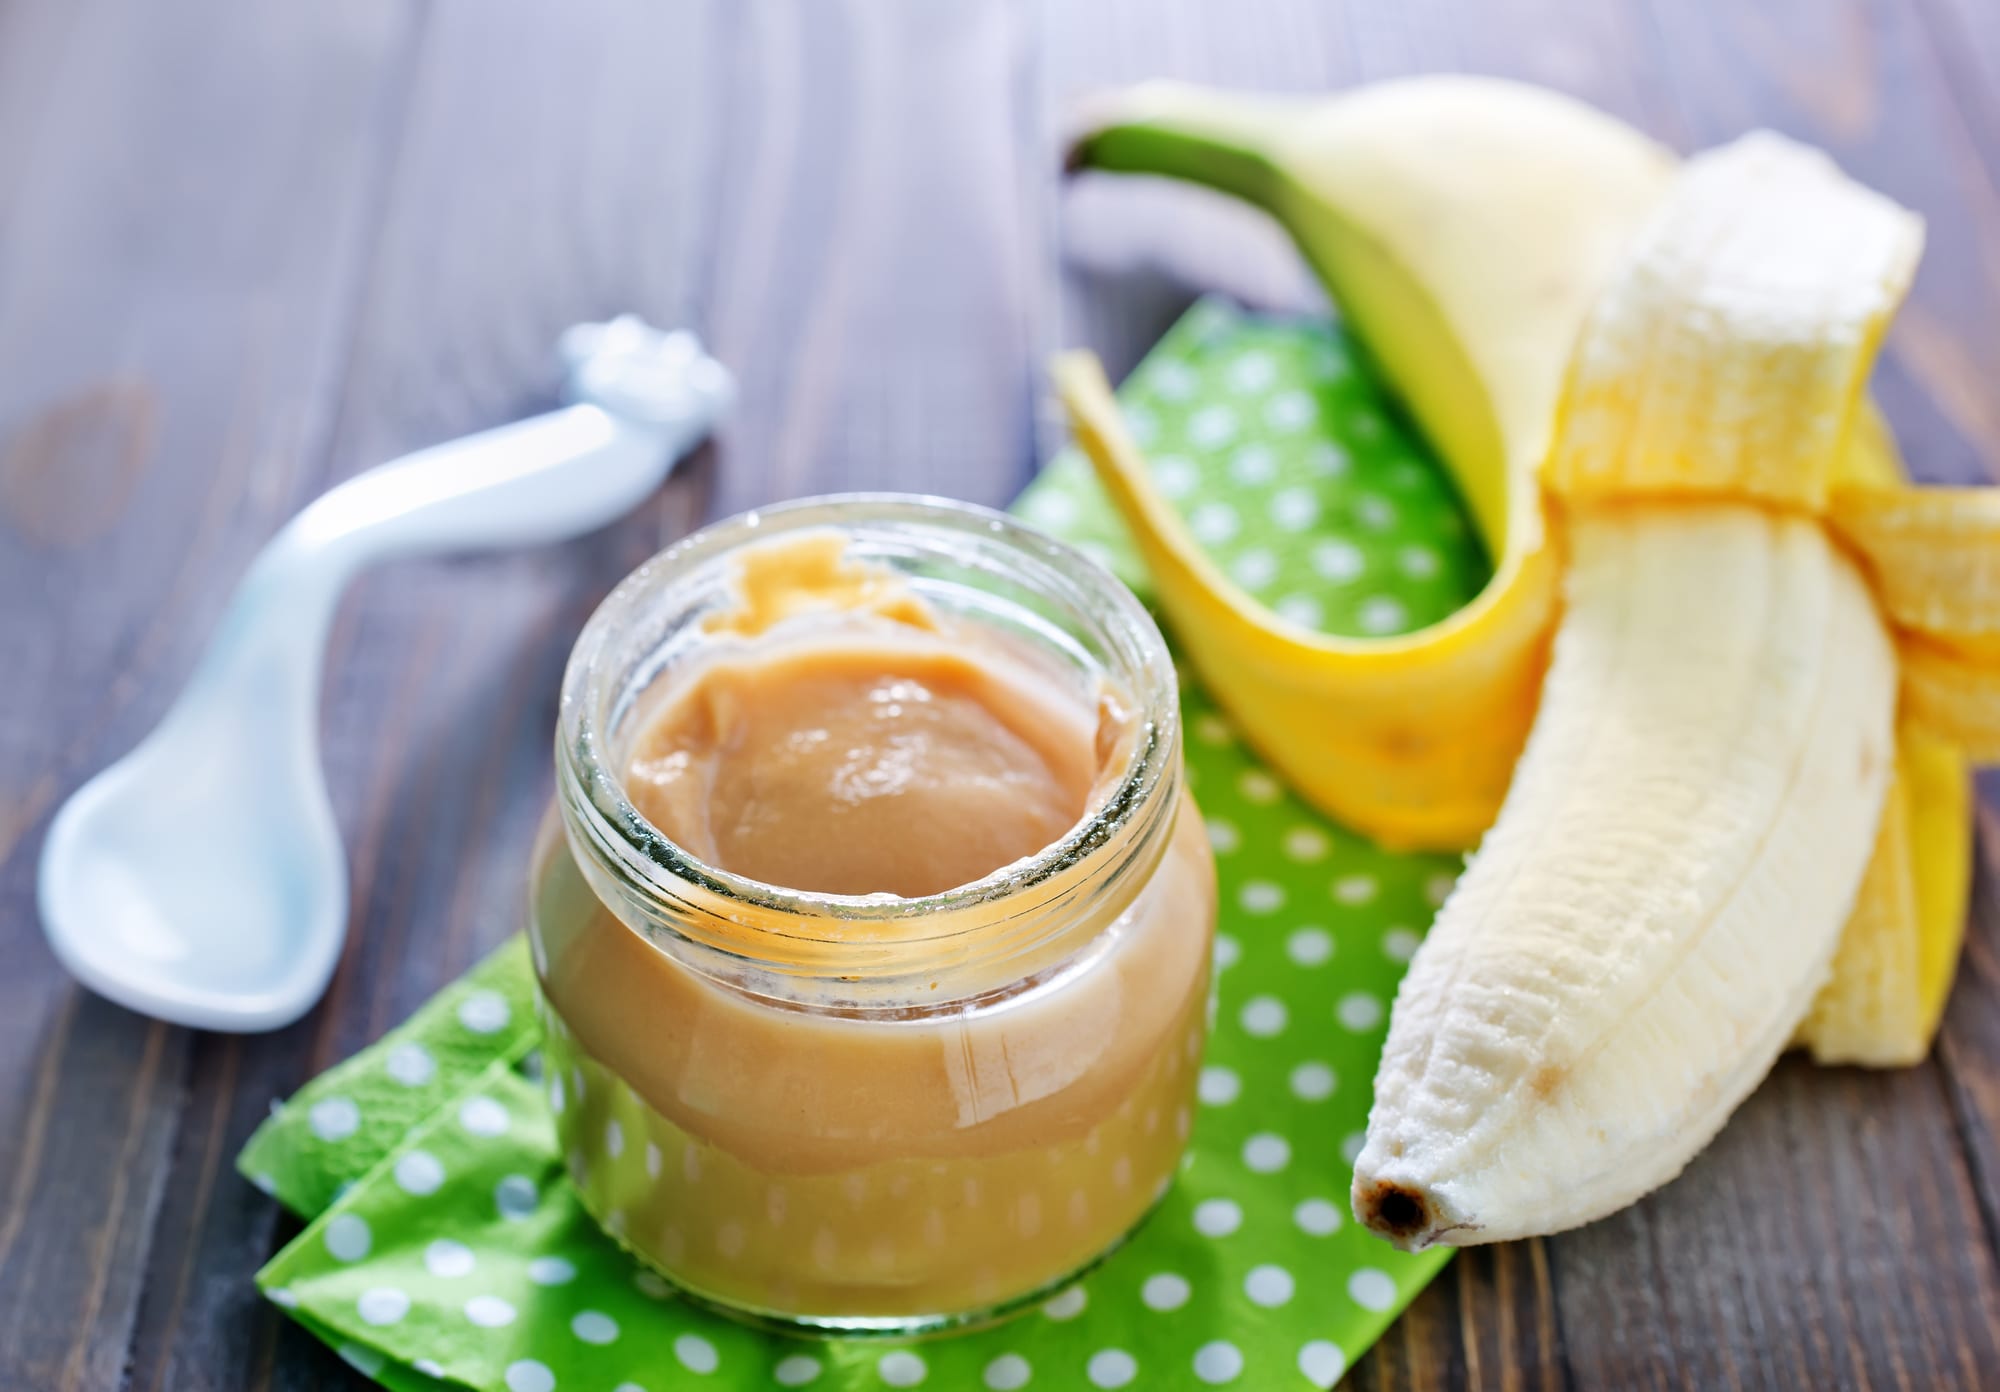
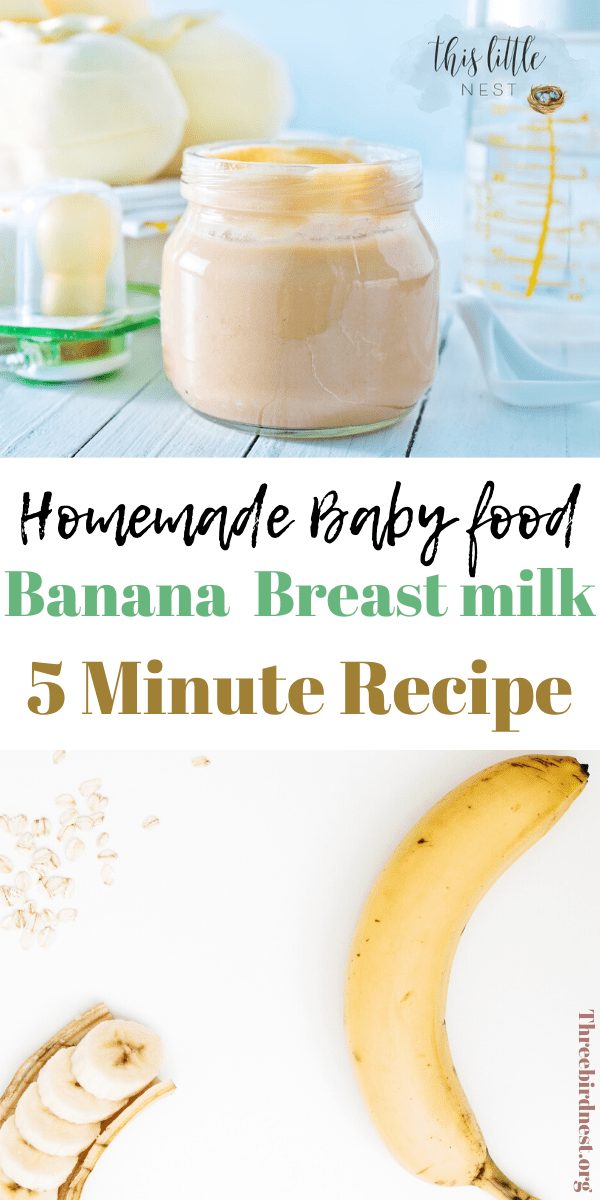
Homemade Baby Food Recipe | Banana Puree With Breast Milk
How it’s done-
Simply take one ripe banana and mash it up well. You can leave chunks if your baby is more experienced at eating.
Then add a tablespoon of breast milk or formula if you choose. You can add more breastmilk if you want the food to have a more watery consistency. This is a good idea for first-time solids.
After the milk is added simply mash it and stir it up together some more until it is the consistency you want for your baby. And that’s it! This is literally the simplest yet most nutritious baby food you can make.
All three of my babes loved this recipe and would eat it daily with some homemade blended veggies. I hope your baby enjoys it as much as mine did!
Pin It On Pinterest For Later!


Instant pot recipes are all the rage right now. They make delicious and quick recipes in minimal time.
We love Chicken Fajita Soup at our house so we tried a recipe in our new instant pot and I gotta say, it was the best!
If you have an instant post and love soup you have to try it. I have the recipe for you below!
By the way, this post contains affiliate links at no extra cost to you. As an Amazon Associate, I earn from qualifying purchases.
Tasty Instant Pot Chicken Fajita Soup
Pin It On Pinterest For Later!

If you don’t happen to have one yet and you’re looking at the recipes available that you can make with one, you should check this one out. It is top-rated with five stars available on Amazon.
This Instant Pot Chicken Fajita Soup is very easy to put together and is packed full of delicious flavors.
A warm bowl of fajita soup can be enjoyed plain, with a yummy garnish or even add some scoops. Your family will definitely ask for seconds.
Chicken Fajita Soup
Prep time: 15 minutes
Active cook time: 15 minutes (+ time to come to pressure and 10 min. natural release)
Serves: 4-6
Ingredients:
- 2 T. extra virgin olive oil
- ½ medium red onion, sliced
- 1 medium red bell pepper, sliced
- 1 medium yellow bell pepper, sliced
- 1 medium Poblano pepper, seeded and chopped
- Sea salt and black pepper, to taste
- 1½ lbs. boneless, skinless chicken breasts
- 1 14-oz. can diced fire-roasted tomatoes, with liquid
- 3 c. chicken broth, preferably organic
- 2 t. ground cumin
- 1 T. chili powder
- 2 t. Mexican oregano, dried
- 1 t. garlic powder
- 1 15-oz. can black beans, drained and rinsed
- 3 T. fresh lime juice

Garnish:
- 2 large avocados, sliced
- 3 T. red onion, chopped
- Shredded Mexican cheese blend
- Fresh cilantro, chopped
Other Recipes You May Like:
- Instant Pot Peruvian Chicken Soup
- 11 Quick Breakfast Casseroles That Will Thrill Your Taste buds
- Pumpkin Spice Irish Coffee Recipe For the Holidays
- The 10 Best Instant Pot Cheesecake Recipes You’ll Ever Try
- How To Make Creative Homemade Hot Chocolate For Wonderful Winter Fun!
- Funfetti Cookies For Birthdays Or Any time
- Strawberry Trifle Recipe
Directions:
- Add olive oil to your Instant Pot and select the Sauté function. Set to high and once the display reads “hot,” add red onion, bell peppers, and Poblano pepper. Season with salt and black pepper, to taste, and cook, stirring continually, until the onion and peppers are crisp-tender and develop a bit of color, approximately 4-5 minutes. Switch unit to “off” and transfer veggies to a bowl. Set aside.
- Season chicken breasts on both sides with salt and black pepper, to taste. Place chicken in Instant Pot®, along with tomatoes, chicken broth, cumin, chili powder, Mexican oregano, and garlic powder. Stir to combine.
- Add the lid and set the pressure valve to “sealing.” Select the “Manual” cooking option on the high setting and set cook time to 10 minutes. When done cooking, allow the pressure to release naturally for 10 minutes, and then do a quick release for any remaining pressure.
- Remove lid and shred chicken breasts with two forks. Add sautéed veggies, black beans and lime juice. Stir to combine and taste. Adjust seasonings as desired.
- Allow soup to sit on “Warm” setting for several minutes until the veggies and beans are heated through. Serve immediately topped with sliced avocados, red onion, Mexican cheese, and fresh cilantro, if desired. Enjoy!
If you loved this recipe you can share it or save it on Pinterest with the images below!
Save It On Pinterest For Later!

Hot chocolate is seriously the best, most indulgent winter treat you can enjoy in December or any of the cold months.
It’s especially fun around the holidays! It can become a really creative and fun activity too if you use marshmallows and a bit of candy.
Your kids will love making these marshmallow snowmen to top your delicious homemade hot chocolate.
Check out the recipe below and get creative with your kids!
How To Make Creative Homemade Hot Chocolate For Wonderful Winter Fun!
Pin It On Pinterest For Later!

Homemade Hot Chocolate First
To create the perfect homemade hot chocolate you’ll need Cocoa powder, chocolate chips, and vanilla extract.
Adding chocolate chips is what gives this perfect recipe it’s creamy authentic chocolate flavor.

- To start, Place your milk in a saucepan over low heat. Using whole milk is definitely the best choice to make this like liquid chocolate cream but you can use a milk alternative or lower fat milk if you want. It will still turn out fabulous.
- Whisk in cocoa powder and sugar, and heat until good and warm.
- Once everything is heated, add chocolate chips, whisking until they melt completely.
- Add a splash of vanilla extract to add full-bodied flavor,
- Serve immediately but if you plan to make the marshmallow snowmen, make those first!
Check at the bottom of the post for the exact recipe and amounts for the ingredients.

What you’ll need to make these cute snowmen:
- medium size marshmallows
- straight small pretzel sticks
- candy corn
- toothpicks
- and melted chocolate
How to make:
Use a pretzel to put the three body parts together including the head, middle, and bottom. Just gently stick the pretzel through the marshmallows to hold the snowman together.
After that, melt a bit of chocolate in a small tray. Wait till it cools slightly but not till it rehardens.
Once it’s a thickened consistency use a toothpick to draw the features of your snowman on with the toothpick using the melted chocolate.
Other Posts:
- Instant Pot Peruvian Chicken Soup
- 11 Quick Breakfast Casseroles That Will Thrill Your Taste buds
- Pumpkin Spice Irish Coffee Recipe For the Holidays
- The 10 Best Instant Pot Cheesecake Recipes You’ll Ever Try
Then put a bit of chocolate in the center for the nose. Stick a piece of candy corn on and hold it for about half a minute or so while the chocolate hardens. It will act as glue to hold the candy in place.
Make your hot chocolate and drop your snowman on top!
You can also create other things with the chocolate and marshmallows. Get creative and enjoy!

Hot Chocolate Recipe
- 4 cups milk (preferably whole or 2%)
- 1/4 cup unsweetened cocoa powder
- 1/4 cup granulated sugar
- 1/2 cup bittersweet or semisweet chocolate chips or chopped chocolate bar
- 1/4 teaspoon pure vanilla extract
And here are the instructions again:
- To start, Place your milk in a saucepan over low heat. Using whole milk is definitely the best choice to make this like liquid chocolate cream but you can use a milk alternative or lower fat milk if you want. It will still turn out fabulous.
- Whisk in cocoa powder and sugar, and heat until good and warm.
- Once everything is heated, add chocolate chips, whisking until they melt completely.
- Add a splash of vanilla extract to add full-bodied flavor,
- Serve immediately but if you plan to make the marshmallow snowmen, make those first!
Pin it on Pinterest For Later!