Looking for a heartfelt way to impress your boyfriend this Valentine’s Day?
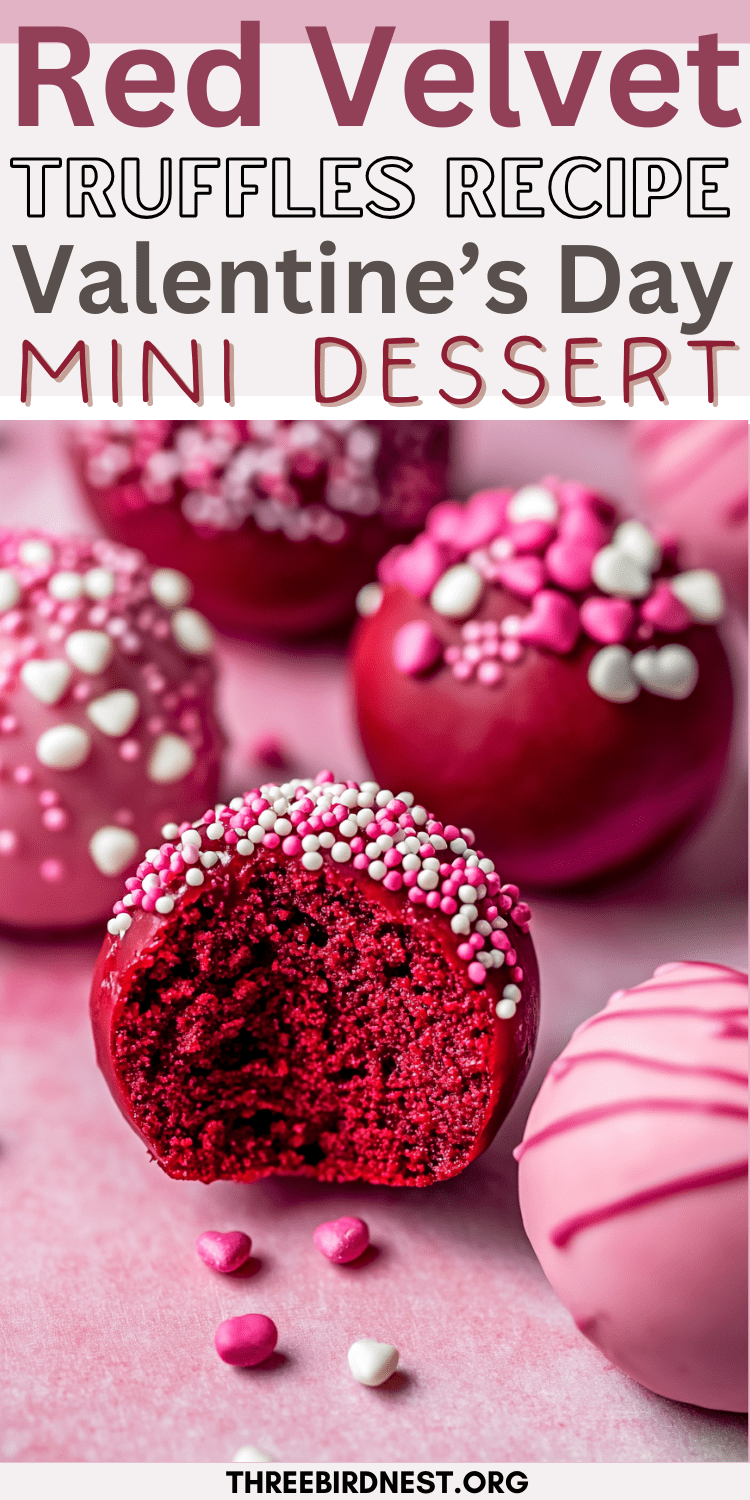
These Red Velvet Truffles are the answer. Combining the indulgent charm of red velvet desserts with a creamy center and a crisp white chocolate shell, they’re the ultimate DIY Valentine’s gift for your boyfriend or partner.
These Red Velvet Truffles are also a great Anniversary Dessert Idea as well.
The rich, vibrant red hue perfectly complements the Valentine’s Day aesthetic, making these bite-sized treats both romantic and delicious.
Whether you’re planning a cozy night in or adding a personal touch to your Valentine’s Day boyfriend ideas, these truffles are an easy yet impressive way to show your love.
Let’s explore how to make this thoughtful dessert and why it’s a standout among Valentine’s Day treats.
DIY Valentine’s Gifts for Your Boyfriend: Red Velvet Truffles for a Valentine’s Day Aesthetic
Step 1: Prepare the Red Velvet Cake
Start by preheating your oven and mixing the red velvet cake batter as directed on the box. Pour the batter into a greased 9×13-inch pan and bake according to the package instructions. Keep an eye on the cake in the final minutes of baking, as red velvet can overbake quickly and lose its signature moist texture.
Once baked, allow the cake to cool completely. This step is crucial—warm cake will not crumble properly and can make the mixture too sticky when combined with the cream cheese.

Why This Step Matters:
The cake serves as the foundation for your truffles. Taking the time to bake it perfectly and let it cool ensures the right texture and consistency for the next steps.
Step 2: Create the Truffle Dough
Once your cake has cooled, use a knife to trim away the crisp edges. While the edges are delicious on their own, they can create a dry or inconsistent texture in the truffle dough, so they’re best left out.
Break the remaining cake into small pieces and place them in a large mixing bowl. Add the softened cream cheese to the crumbled cake. Using your hands is the easiest way to combine the ingredients until you achieve a smooth, dough-like consistency. It should be moist enough to hold together but not overly sticky.
Pro Tip: If you prefer less mess, you can use a stand mixer fitted with a paddle attachment, but working the dough by hand gives you more control over the texture.
Step 3: Roll and Chill the Truffles
Using a small cookie scoop or a tablespoon, portion out the dough and roll it into balls about the size of a walnut. Each ball should be roughly 2 tablespoons of the mixture. Place the rolled truffles on a baking sheet lined with parchment paper, spacing them slightly apart to prevent sticking.

Once all the dough is shaped, place the baking sheet in the freezer for at least 30 minutes. This step is essential for firming up the truffles, making them easier to coat in chocolate later.
Why This Step Matters:
Freezing solidifies the truffles, ensuring they hold their shape during the dipping process. Skipping this step could lead to soft or misshapen truffles.
Step 4: Melt the White Chocolate
While the truffles are chilling, prepare the coating. Chop your almond bark or white chocolate candy melts into smaller pieces for even melting. Place them in a microwave-safe bowl and heat in 30-second intervals, stirring well between each round. Continue until the chocolate is fully melted and smooth.
If the chocolate seems too thick for dipping, you can add a teaspoon of vegetable oil or shortening to thin it out. This makes it easier to coat the truffles evenly.

Pro Tip: Avoid overheating the chocolate, as it can seize up and become unusable. Stirring frequently helps distribute the heat and ensures a glossy finish.
Step 5: Dip and Decorate
Now comes the fun part! Remove the truffles from the freezer. Using a fork or a candy-dipping tool, dip each truffle into the melted white chocolate. Tap the fork gently against the side of the bowl to remove any excess coating.
Place the dipped truffles back onto the parchment-lined baking sheet. While the chocolate is still wet, add sprinkles or drizzle with additional melted chocolate for an extra touch of elegance. You can even use cake crumbs to garnish for a unique presentation.

Why This Step Matters:
The coating not only seals in the flavor but also adds a satisfying crunch. Decorating the truffles makes them visually appealing, perfect for gifting or serving at special events.
Step 6: Set the Coating
Once all the truffles are dipped and decorated, allow the chocolate to set. You can speed up this process by placing the tray back in the freezer for a few minutes. Alternatively, let them harden at room temperature if you’re not in a rush.
After the chocolate has fully hardened, your Red Velvet Truffles are ready to enjoy!
Pro tip: You can color your white chocolate with certain food coloring to give your truffles a richer hue. To color white chocolate, use oil-based candy coloring made specifically for chocolate or powdered candy coloring. Avoid liquid food coloring or gel icing colors, as their water content can cause the chocolate to seize, leading to hardening or thickening.

Now that you’ve got all the tips and tricks, it’s time to get started on your own batch of Red Velvet Truffles. Follow the detailed steps above, and scroll down for the quick recipe to save or print for future use!
Red Velvet Truffles Recipe
These Red Velvet Truffles are a decadent dessert made with moist red velvet cake, creamy filling, and a crisp white chocolate shell. They’re the ultimate treat for Valentine’s Day, Christmas, or any special occasion.
Prep Time: 10 minutes
Bake Time: 30 minutes
Chill Time: 30 minutes
Total Time: 1 hour 10 minutes
Ingredients
- 1 box of red velvet cake mix
- Ingredients as directed on the cake box (water, oil, eggs)
- 10 ounces of softened cream cheese
- 12 ounces of almond bark or white chocolate candy melts
- Decorative sprinkles
Directions
1. Bake the Cake
Prepare the red velvet cake according to the instructions on the box, using a 9×13-inch pan. Let the cake cool completely before moving on.
2. Prep the Cake Base
Cut off and discard the crispy edges of the cake. Break the remaining cake into crumbs in a large mixing bowl. Add the softened cream cheese to the crumbs and mix until it forms a dough-like consistency. For best results, use your hands to combine the ingredients thoroughly.
3. Form the Truffle Balls
Scoop approximately 2 tablespoons of the cake mixture and roll it into a ball. Repeat with the remaining mixture and arrange the balls on a parchment-lined baking sheet. Place the sheet in the freezer for about 30 minutes, or until the balls are firm.
4. Melt the Coating
Melt the almond bark or white chocolate candy melts in a microwave-safe bowl, heating in 30-second intervals. Stir after each interval until the coating is smooth and melted completely.
5. Dip the Truffles
Using a fork or candy-dipping tool, coat each chilled cake ball in the melted chocolate. Gently tap off the excess coating, then place the truffles back onto the parchment paper.
6. Add Toppings
Before the chocolate hardens, decorate the truffles with festive sprinkles. For added flair, drizzle melted chocolate over the top or sprinkle with leftover cake crumbs.
7. Set and Enjoy
Allow the coated truffles to set completely by chilling them briefly in the freezer or leaving them at room temperature. Once the chocolate shell is firm, your truffles are ready to serve!

A Sweet Ending to Your Valentine’s Day
These Red Velvet Truffles aren’t just desserts; they’re a gesture of love wrapped in rich flavors and a festive Valentine’s Day aesthetic.
Whether you’re surprising your boyfriend or partner with a thoughtful DIY Valentine’s gift or adding a touch of romance to your Anniversary celebration, these treats deliver both taste and charm.
Their vibrant red hue and indulgent texture make them the perfect addition to your list of Valentine’s Day boyfriend ideas.

Treat your special someone to a dessert that’s as heartfelt as it is delicious, and make this Valentine’s Day one to remember.
Enjoy!
Pin It On Pinterest For Later!