Slime is always a fun activity for young kids, and sometimes older ones too. It’s satisfying to make, they enjoy the process and afterward, they get to dive into mess free squishy fun.
It is a great sensory experience and can be made in so many fun different ways.
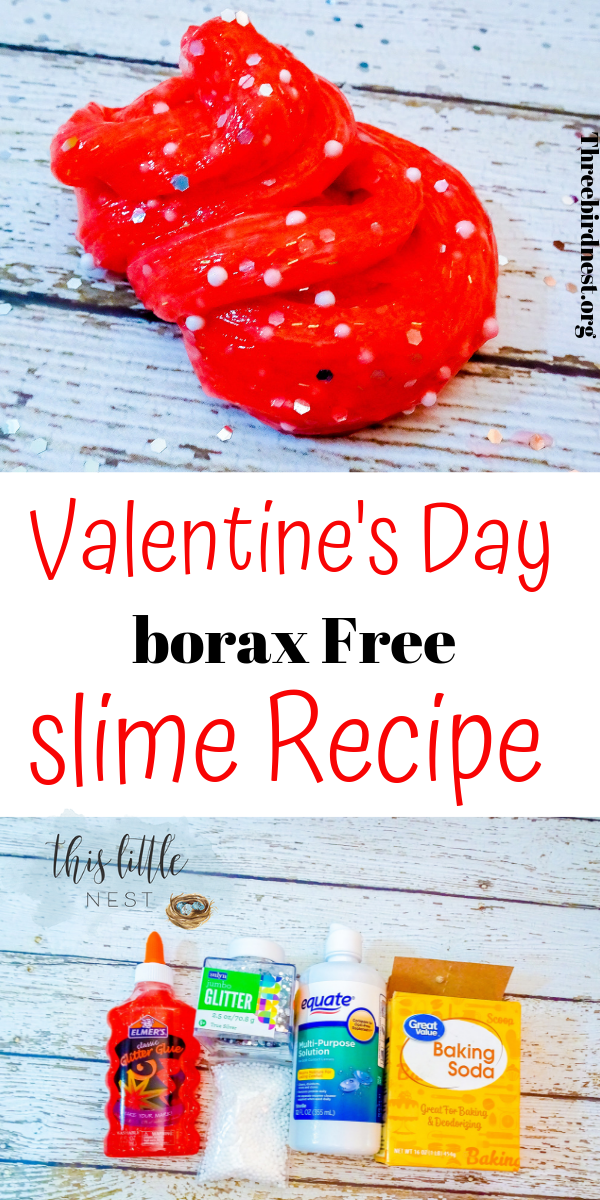
Today I have an awesome red and glittery Borax free recipe that you and your babes are gonna love!
**By the way, this post contains affiliate links at no extra cost to you. As an Amazon Associate, I earn from qualifying purchases.
Red Glitter Cherry Slime For Valentines Or Any Time!
Pin It for Later On Pinterest
If this is your first time making slime lets talk about it for a minute. Our slime is non-toxic and it’s made of non-sticky ingredients ( once mixed ). It comes together perfectly to make the best product.
We use Elmer’s liquid glitter glue with baking soda and contact solution. Then we add some pretty things to make it darker in color and sparkly. See The Actual Recipe with amounts at The bottom of the post.
Slime is a lot of fun for kids to play with – however, we recommend adult supervision and that adults should make the slime while the kids assist. Until the product is mixed the glue could possibly get messy.
One more thing, while this cherry slime looks good enough to eat, it is definitely not edible. Make sure the children you are creating with realize that it’s not something they should be eating.
Here are the ingredients you’ll need to get started:

Once you have everything together you can begin mixing it up!
Slime Tip: Always use the glue indicated in the recipe. Using a different brand could yield different results. We use good ole Elmers Glue in our recipes. It’s the best for making slime.
You begin by adding your glue, baking soda then you move on to the contact solution.

After mixing the main ingredients together you get to add the fun stuff.
But this step is optional. If you want to make a quick slime recipe you could stop here and leave out the glitter and add-ons. But here we think the more glittery, the better!

We added jumbo silver glitter here but you can go on to add a variety of things including colored sprinkles. When adding sprinkles let it sit for a few minutes then spread it with your fingers to get an amazing rainbow effect ( not shown here ).

We also added little styrofoam balls and mixed those in to add a little more bulk to this sensory experience.

After this step, you can allow your children to help if you’d like. It won’t be sticky anymore and they can help mix up the glitter and balls.
Other Crafty Posts:
15 Fall Crafts Your Kids Will Love
Disney Gifts Your Little Princess will Love

Then if you want to darken your cherry slime you can add some food coloring. This will make the color denser and a little less transparent but this is optional. Put it back in the bowl and do this yourself to avoid any messes.

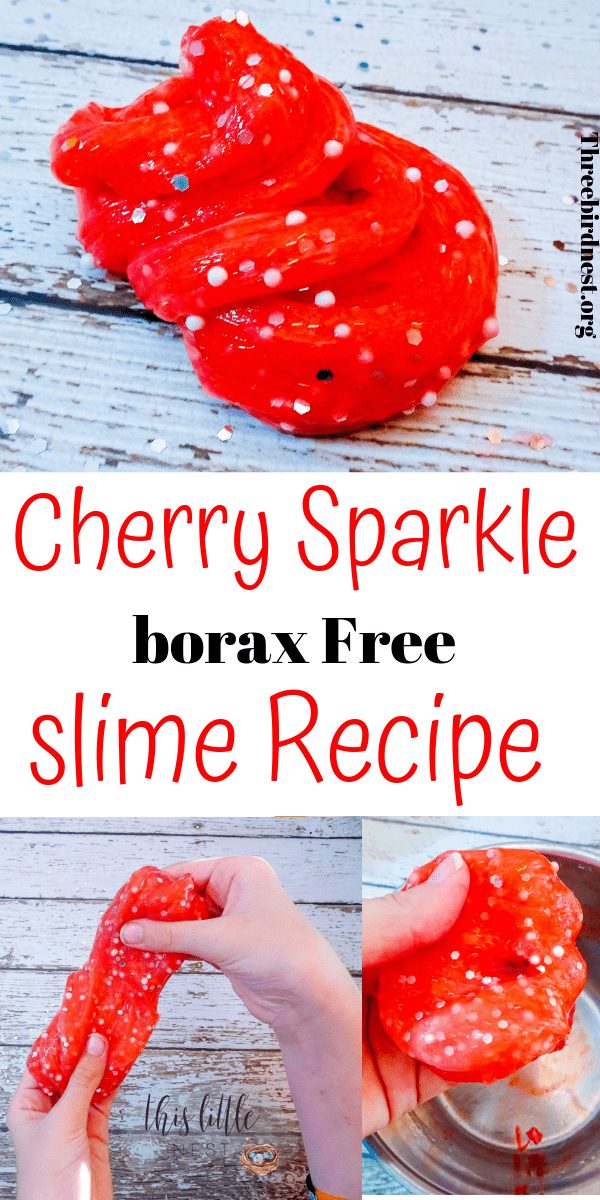
And this is what you’ll get after it’s all said and done! A really pretty, bright red slime that is soft to the touch and not messy at all.

Have a look at the texture. It doesn’t come apart in little globs so it won’t be left all over the house or get caught in the carpet. It’s good stuff.
Be sure to read the instructions carefully. The type of contact lens solution you need and glue is really important! Substituting these ingredients for other brands may result in your slime not working. We also do not recommend substituting the brands in the recipe for a generic ( as I mentioned before ) because their formula will no doubt be slightly different.
You can find the full recipe below the picture with the exact products we used listed in the links. Have Fun!!

Slime Recipe Ingredients: Click On The Product To See It On Amazon
- 1 Container Red Glitter Glue
- 1 Tablespoon Baking Soda
- 2 Tablespoons Contact Solution
- 1 Tablespoon Water
- Silver Jumbo Glitter
- White Foam Balls
Add your glue to a bowl then add in baking soda, water, and contact solution. Mix well until slime no longer sticks to the bowl. Add in more contact solution as needed.
Add in glitter to your preferred amount. 2-3 tablespoon normally but you can add more or less. Mix into the slime with your hands.
Add in styrofoam balls. One tablespoon or so more as desired, mix in well with hands.
Store in an airtight container when not in use. Slime will last several weeks.
If you loved this post it would be awesome if you could share it with your friends. You can share it on Pinterest with the special images below or with the buttons at the bottom or side of the post.
Pin It On Pinterest For Later With These Special Images!