16 Easy Spring Crafts for Young Children
March 20th is the first day of Spring this year….so who’s ready!?
Here are 16 fun Spring crafts that are great for kids and your home. These are nice for rainy days inside when the kids are getting a little rambunctious, too!
Or any day when you’re feeling particularly festive.
Check out the list below so you and your kiddos can get started early on some Springtime fun.
***Check out this Cherry Sparkle Slime we made with the kids the other day. It’s non-sticky, no mess slime you and your kids will love.
16 Easy Spring Crafts To Do With Your Kids Right Now
Pin It On Pinterest For Later!

Below are some great projects you can do with stuff you have just laying around the house.

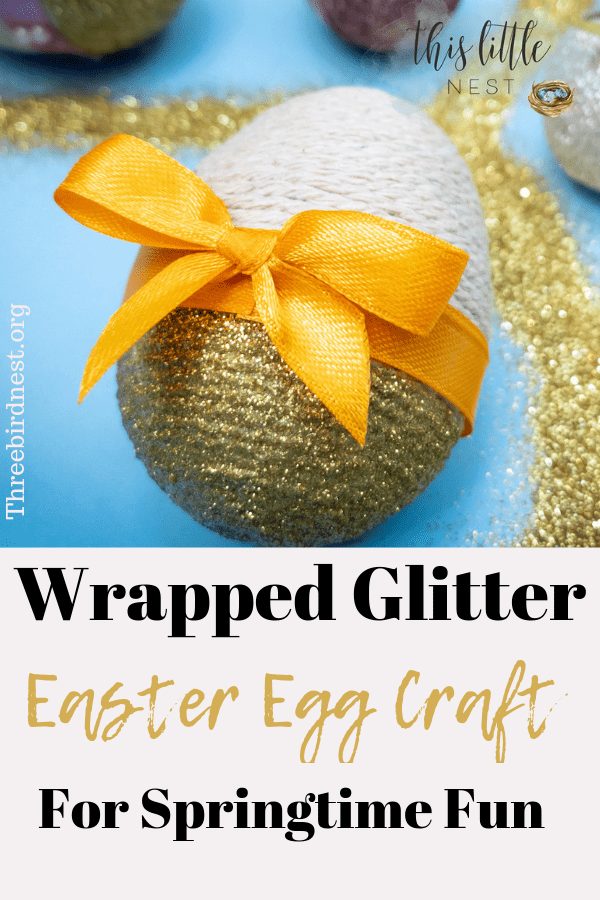
Wrapped Glitter Easter Egg- Check out this really pretty and Glittery Easter Egg Craft. We think you’ll love it!
Egg Carton Tulips– Involve the kids! Fun buttons can be found at places like Micheal’s, Target, and any other store.
Paper Blooms – Use scrapbooking paper with fun designs and textures!
Cool Can Chimes – Add fun colors and glue on gems to really make these shine!
Make Your Own Vases – Try using fun Coke bottles if you don’t have milk bottles!
Paper Blooms – Use scrapbooking paper with fun designs and textures!
Cool Can Chimes – Add fun colors and glue on gems to really make these shine!
Make Your Own Vases – Try using fun Coke bottles if you don’t have milk bottles!

Flower Painting – Try using different flowers for different effects!
Blossom Fairy Lights – Grab the glitter and egg cartons for some seriously sparkly fun!
No-Sew Bunnies – Cute little egg holders or decor for Easter!
Spring Flower Pinwheels – Fun and charming, these adorable pinwheels would give the kids hours of fun and creativity!
Blossom Fairy Lights – Grab the glitter and egg cartons for some seriously sparkly fun!
No-Sew Bunnies – Cute little egg holders or decor for Easter!
Spring Flower Pinwheels – Fun and charming, these adorable pinwheels would give the kids hours of fun and creativity!

Crafty Paper Bee – Easy enough for preschoolers to make!
DIY Gold Leaf Eggs – Great for Easter, or as a cute centerpiece!
Craft Stick Flock of Sheep – This would probably work for bunny rabbits, too!
Backyard Bird Feeder – Leaves lots of room to customize!
DIY Gold Leaf Eggs – Great for Easter, or as a cute centerpiece!
Craft Stick Flock of Sheep – This would probably work for bunny rabbits, too!
Backyard Bird Feeder – Leaves lots of room to customize!

Little Grass House – Creative, and a great way to teach kids about how things grow!
Chic Sheep– A super cute addition to introducing SPRING!
Spring Bulbs – Clever enough to keep all year round!
Spring No Snow Globe – A great way to enjoy the beauty of Spring!
So there’s a good long list of fun and easy Sring activities for you and the kiddos. If you’re like me you’ll enjoy it as much as they do!
We wish you a happy Sring and the best year yet!!
Pin It On Pinterest For Later!