Spring is almost here and with it comes warmth, flowers, colors and fun holidays like Easter. It’s the perfect time to celebrate with some Easter egg crafts with your kids or by yourself.
Today’s Wrapped glittery Easter eggs are something you can use for years to come as pretty holiday decorations or you can add them to the easter hunt to bring a little variety and glitter to their baskets.
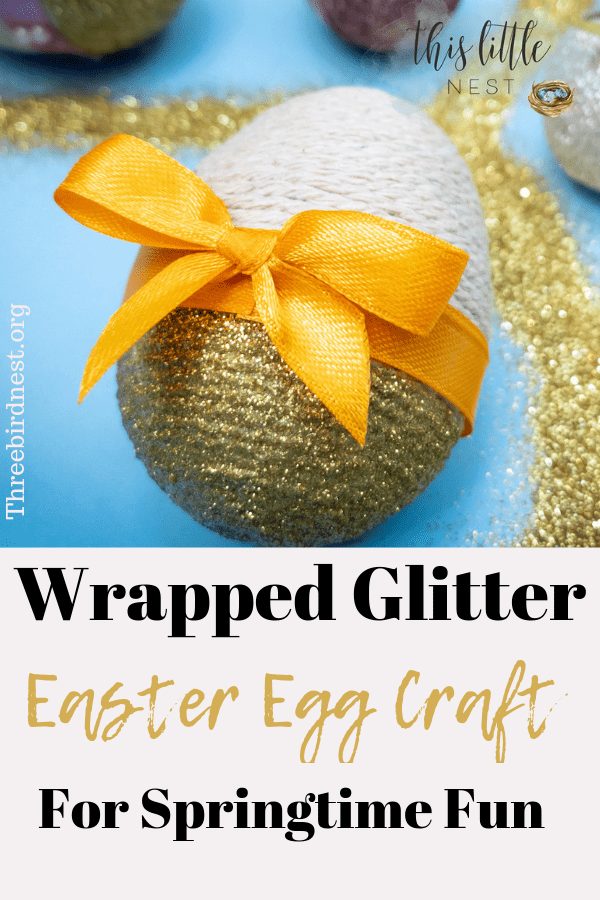
You can use colored twine and different colored ribbon and glitter or you can use the simple cream-colored twine like we did. This is a fun crafting project for all ages! So let’s get into it.
***Check out this Cherry Sparkle Slime we made with the kids the other day. It’s non-sticky, no mess slime you and your kids will love.
**By the way, this post contains affiliate links at no extra cost to you. As an Amazon Associate, I earn from qualifying purchases. This helps me keep my blog up and running and I only list products that I love and have used myself. Thank you for your support!
Wrapped Glitter Easter Eggs With Ribbon
Pin It On Pinterest!

First Grab all of your crafting materials. This project is super cheap to recreate and you can find everything you need in the list below on Amazon. Just click the product to find out more.

Here’s your list:
Foam eggs
Flax twine or yarn
Scissors
Flat Paint Brush
Liquid glue
Textil glue
Glitter
Ribbons
Decor pearls (optional)
Now let’s grab our glue and our foam eggs. Put glue in the hole in the top and start your twin or yarn there. Stick it in the hole so it will stay put. Be sure to put down a piece of paper underneath so you don’t get glue on your table or counter.

Next, begin wrapping your twine slowly in a circular pattern. Be sure to lay a strip of glue for each circle to hold the twine firmly in place. Taking your time and using the right amount of glue will make these decorations last for years.

Continue to slowly wrap the twine all the way down the egg. As you go push the twine in firmly so that it lays tightly up against the foam egg.

After that, add a thick layer of glue to the bottom half of your egg. This will hold your glitter on a bit later.
Other Crafty Posts:
15 Fall Crafts Your Kids Will Love
Disney Gifts Your Little Princess will Love

Now we get to the fun part. We get to add glitter! You can use any color you want or add several colors for a more festive Springtime feel. We used a lovely gold shade here.

Simply take the egg in hand and pour your glitter of choice. As you pour, turn the craft all the way around until the glitter meets on both sides.

We poured it heavily on so that it would fully cover the egg. It looks prettiest if the glitter is nice and thick.

Now grab your glue again and a good flat brush. Put some glue on your brush and add a thin layer over your glitter. Use a light touch so the glitter doesn’t get wiped away.
This will help secure the glitter onto the egg so that it’s not constantly shedding. When your are done the results will look professionally made.
Now it’s time to add our ribbon.

Pick the ribbon of your choice and glue it around the egg center. Once you get it wrapped you can cut it so that it’s even and meeting on both sides. Glue it together where they meet.
Next, will add our bow.

Cut a piece of ribbon and tie a perfect little bow. Once you have it the way you want, glue it to the egg right on top of the seam where the ribbon meets.

And there you have it. The perfect Easter Holiday decoration that you can use for years to come. Happy upcoming Easter and enjoy!

If you loved this craft it would be awesome if you save it on Pinterest with the special images below or you can save it with the buttons at the top or bottom. Thanks!!
You can also download this recipe as a pdf with the purple button at the very bottom of this post. Just click on it and it will be sent to your inbox.
Pin It On Pinterest For Later With These Special Images!