
29 Valentine’s Day Dessert Recipes to Make Their Heart Melt
Valentine’s Day is the perfect excuse to indulge in desserts that are as sweet and romantic as the occasion itself.
From decadent cakes to vibrant cheesecakes and everything in between, these treats are designed to impress and satisfy your loved ones.
Whether planning an elegant dinner, a cozy date night at home, or a festive gathering, these Valentine’s Day dessert ideas will add a deliciously memorable touch to your celebration.
Get ready to whip up some love in the kitchen with these irresistible recipes!
29 Valentine’s Day Dessert Recipes to Make Their Heart Melt
No-Bake Dragon Fruit Cheesecake Bars
These no-bake dragon fruit cheesecake bars are perfect for a Valentine’s Day dessert that’s as visually stunning as it is delectable.
Featuring a buttery graham cracker crust topped with creamy cheesecake layers, the real star of the show is the vibrant dragon fruit puree swirled throughout.
The result is a dessert that’s equally indulgent and refreshing, with a pop of exotic fruit flavor.
The process begins with a simple graham cracker crust that provides the perfect buttery base.
The cheesecake layers are created with cream cheese, Greek yogurt, and a touch of whipped cream for a dreamy, light texture.
The dragon fruit puree not only enhances the flavor but creates a swirl of deep pink that makes these bars irresistible.
Best of all, this dessert is entirely no-bake, making it a stress-free option for your Valentine’s celebration.
Get the full recipe for No-Bake Dragon Fruit Cheesecake Bars here!

Red Velvet Cake Balls with White Chocolate and Sprinkles
These Red Velvet Cake Balls are a bite-sized indulgence that packs all the deliciousness of a classic red velvet cake into one perfect pop.
Made from moist, crumbled red velvet cake and sweet cream cheese frosting, these cake balls are then dipped in creamy white chocolate for an extra layer of decadence.
To top it off, a sprinkle of colorful confetti or festive sprinkles adds a fun and eye-catching finishing touch.
Not only are these cake balls a delightful treat for the taste buds, but they also make a beautiful addition to any Valentine’s Day dessert table or celebration.
With their vibrant red hue, smooth white chocolate coating, and playful sprinkles, they are as stunning as they are delicious.
For the full recipe and step-by-step instructions on how to make these irresistible Red Velvet Cake Balls, see this page here.

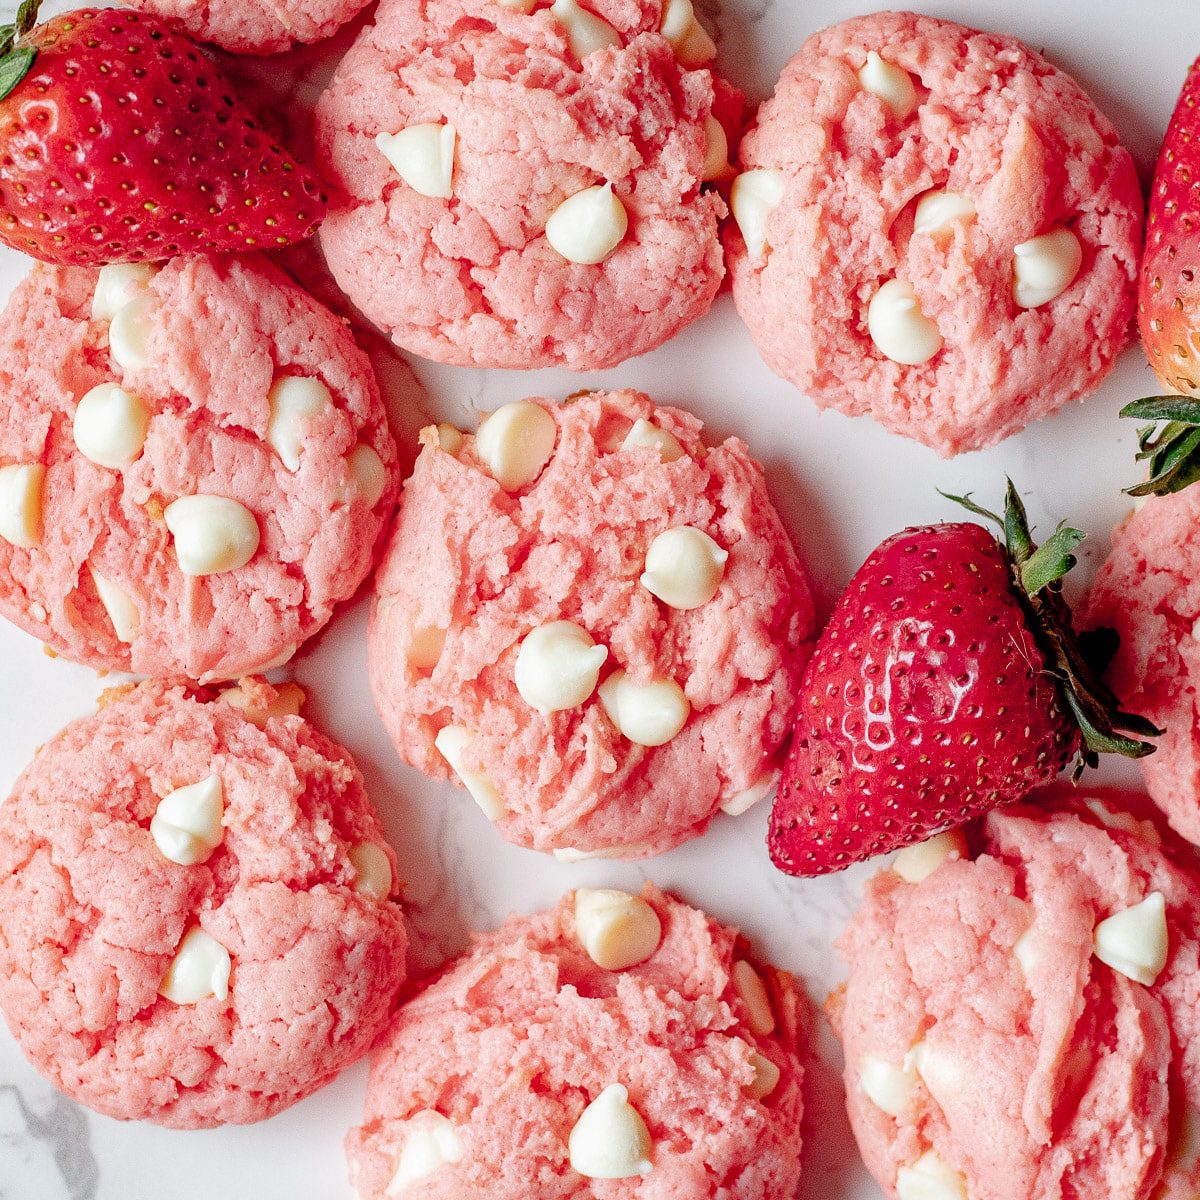
Strawberry Cheesecake Cookies
These soft and chewy Strawberry Cheesecake Cookies combine the best flavors of strawberry and cheesecake in one delightful bite.
With just a few simple ingredients—cream cheese, strawberry cake mix, and a touch of white chocolate chips—these cookies come together quickly and easily.
The cream cheese adds a rich, creamy texture, while the strawberry cake mix brings that sweet, fruity flavor that’s perfect for any occasion.
Chilled dough helps the cookies maintain their shape while baking, ensuring golden, crispy edges with a soft and chewy center.
To get the full recipe, click here
Red Velvet Brownies with Cream Cheese Swirl
These red velvet brownies with a rich cream cheese swirl are a simple yet decadent dessert perfect for Valentine’s Day.
With only five ingredients, you can whip up a batch in under 30 minutes!
The brownies themselves have a dense, fudgy red velvet base that’s complemented by a luscious cream cheese topping, making for a perfect balance of sweet and tangy.
To make these irresistible treats, all you need is a box of red velvet cake mix, some eggs, vegetable oil, and cream cheese.
The cream cheese filling, sweetened with powdered sugar, is poured over the batter and gently swirled in, creating a beautiful contrast of color and flavor.
After baking, these brownies develop a slightly crisp top and a soft, gooey center.
Get the full recipe for Red Velvet Brownies with Cream Cheese Swirl here!

Red Velvet Macarons
These Red Velvet Macarons combine the elegance of classic French macaroons with the beloved flavors of red velvet cake.
With their perfect crispy texture, the bright white macaron shells are paired with a creamy red velvet filling made from butter, cream cheese, and red velvet cake mix, offering a delightful contrast in flavor and appearance.
While these macaroons require patience, the process results in a stunning dessert that’s sure to impress.
The shells are carefully whipped to form stiff peaks, then paired with a decadent filling that has a subtle tanginess from the cream cheese and a rich red velvet flavor.
These macarons are perfect for a special Valentine’s Day treat or any occasion that calls for a unique, elegant dessert.
For the full recipe and step-by-step instructions on how to make these delicious Red Velvet Macarons, click here.

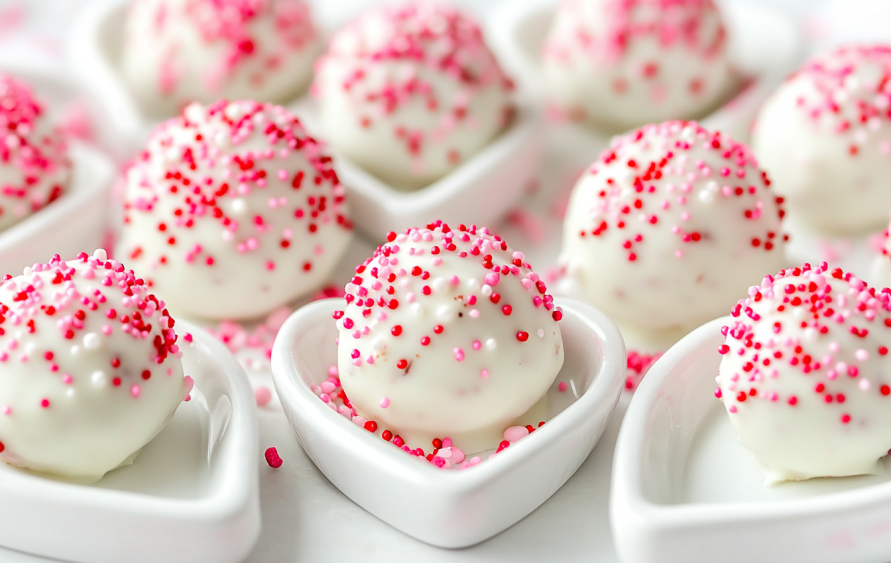
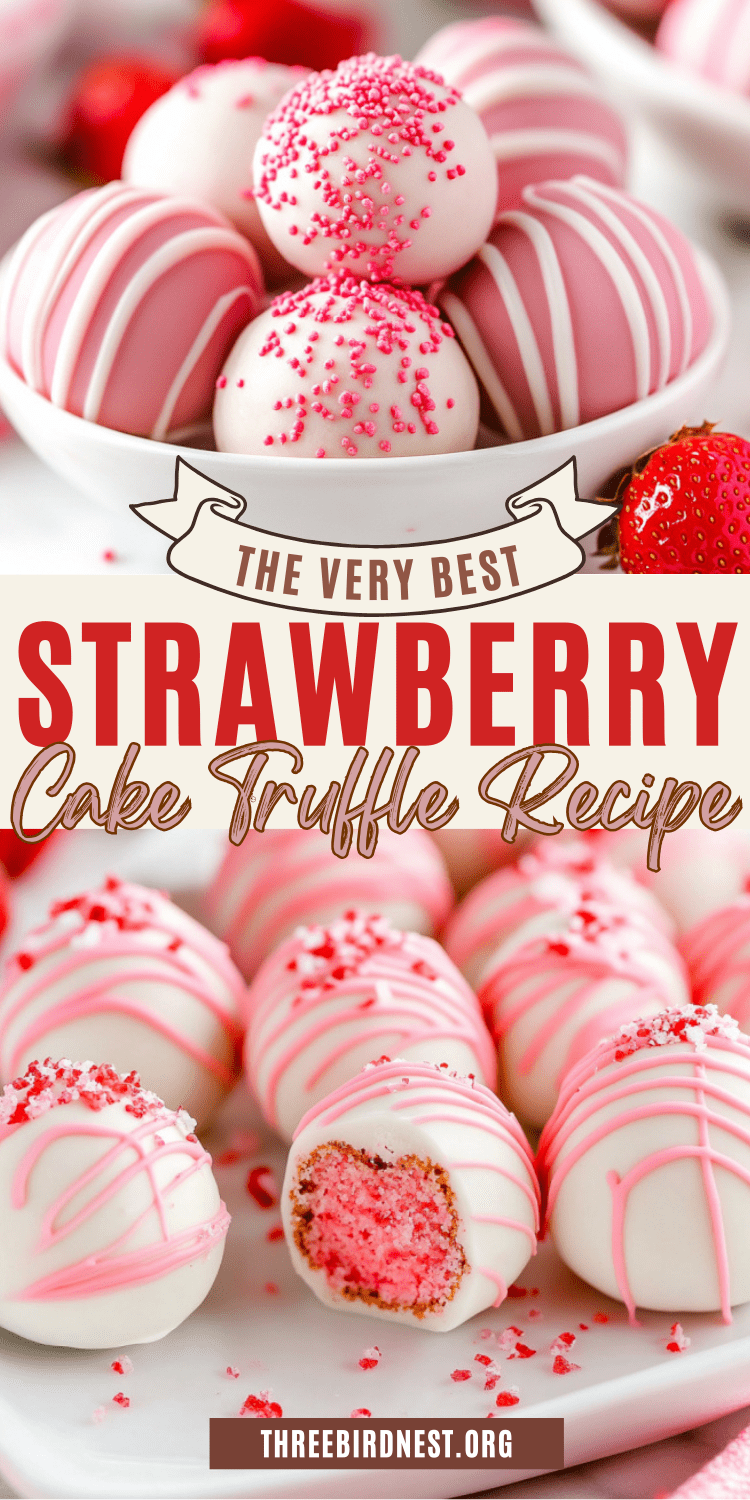
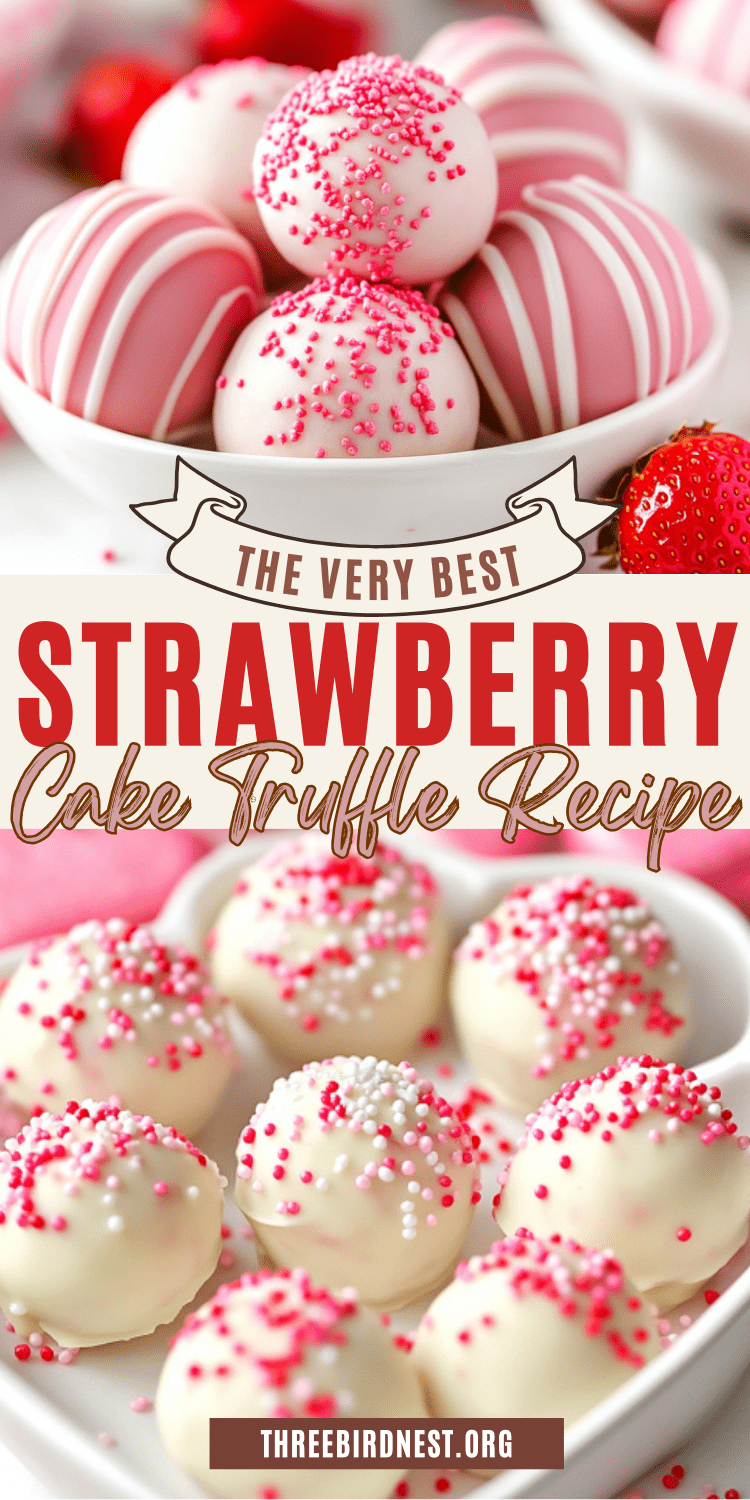
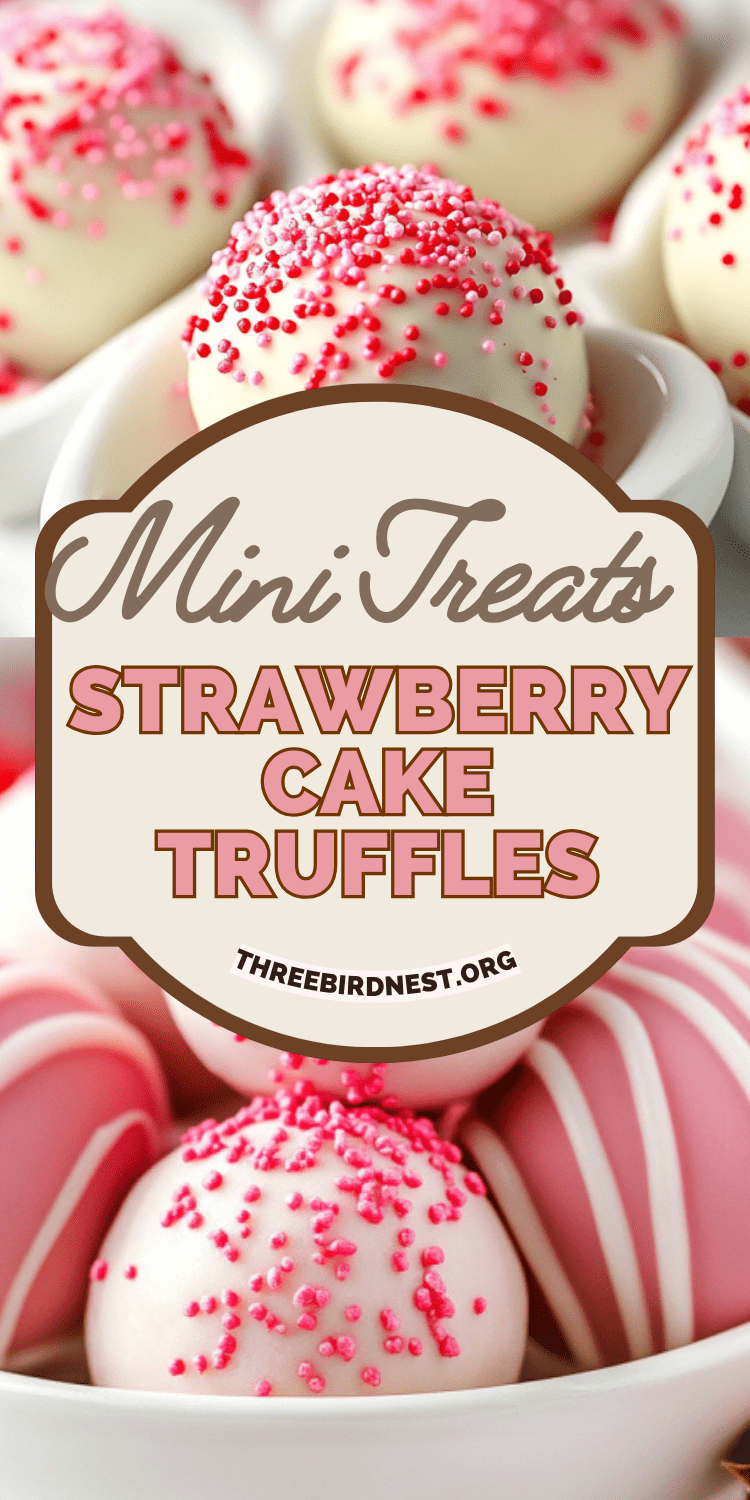
Strawberry Cake Truffles with White Chocolate and Sprinkles
These Strawberry Cake Truffles are the perfect mini treat for any celebration, offering a burst of sweet strawberry flavor encased in a rich, melt-in-your-mouth white chocolate coating.
Made by crumbling a soft, moist strawberry cake and blending it with creamy frosting, these truffles are then dipped in smooth white chocolate and topped with colorful sprinkles for an extra touch of fun and festivity.
Ideal for special occasions or a sweet addition to a Valentine’s Day spread, these truffles are not only delicious but visually appealing, with their pink hue and festive sprinkles.
They’re a delightful combination of texture and flavor, sure to impress guests at any gathering.
For the full recipe and instructions on how to make these irresistible Strawberry Cake Truffles Click here.

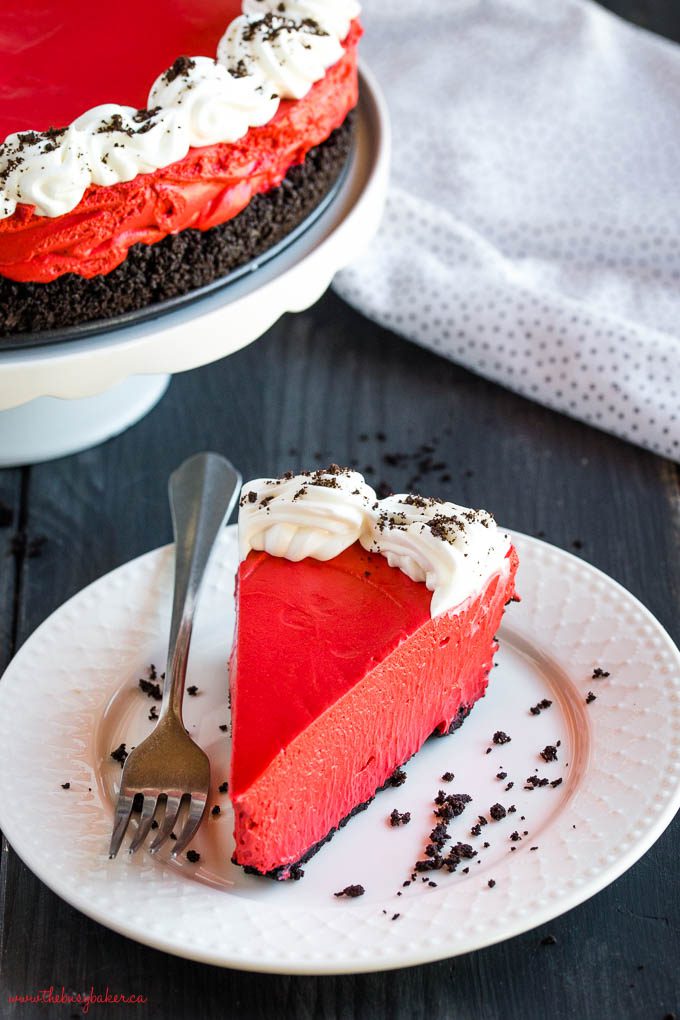
No-Bake Red Velvet Cheesecake
Treat yourself to the ultimate Valentine’s Day dessert with this No-Bake Red Velvet Cheesecake. It’s so pretty and festive for Valentine’s Day.
This recipe offers a smooth, creamy filling bursting with classic red velvet flavor and a subtle hint of chocolate, all nestled in a chocolatey Oreo cookie crust.
The combination of cream cheese melted white and semi-sweet chocolate, and whipped cream creates a luscious texture that melts in your mouth, while the vibrant red hue adds a festive touch.
With no need to turn on the oven, this dessert is both stunning and stress-free to make.
It’s the perfect centerpiece for romantic dinners, holiday gatherings, or any time you’re craving something decadent.
For the full recipe and instructions, click here.
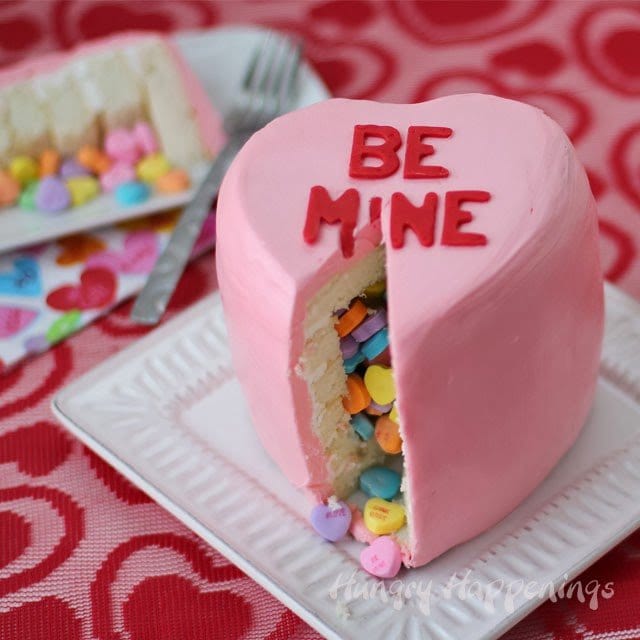
Conversation Heart Piñata Cake
Add a playful and interactive element to your Valentine’s Day celebration with Hungry Happenings’ Conversation Heart Piñata Cake!
This delightful creation is not just a treat for the taste buds but also a surprise-filled experience.
Inspired by classic conversation hearts, the vibrant and festive design makes it a showstopper for your dessert table.
Whether you’re celebrating with friends, family, or someone special, this piñata cake brings fun and flavor to the occasion.
Dive into the world of creative baking by exploring the recipe here: Conversation Heart Piñata Cake. Let the festivities begin with each slice revealing sweet surprises!
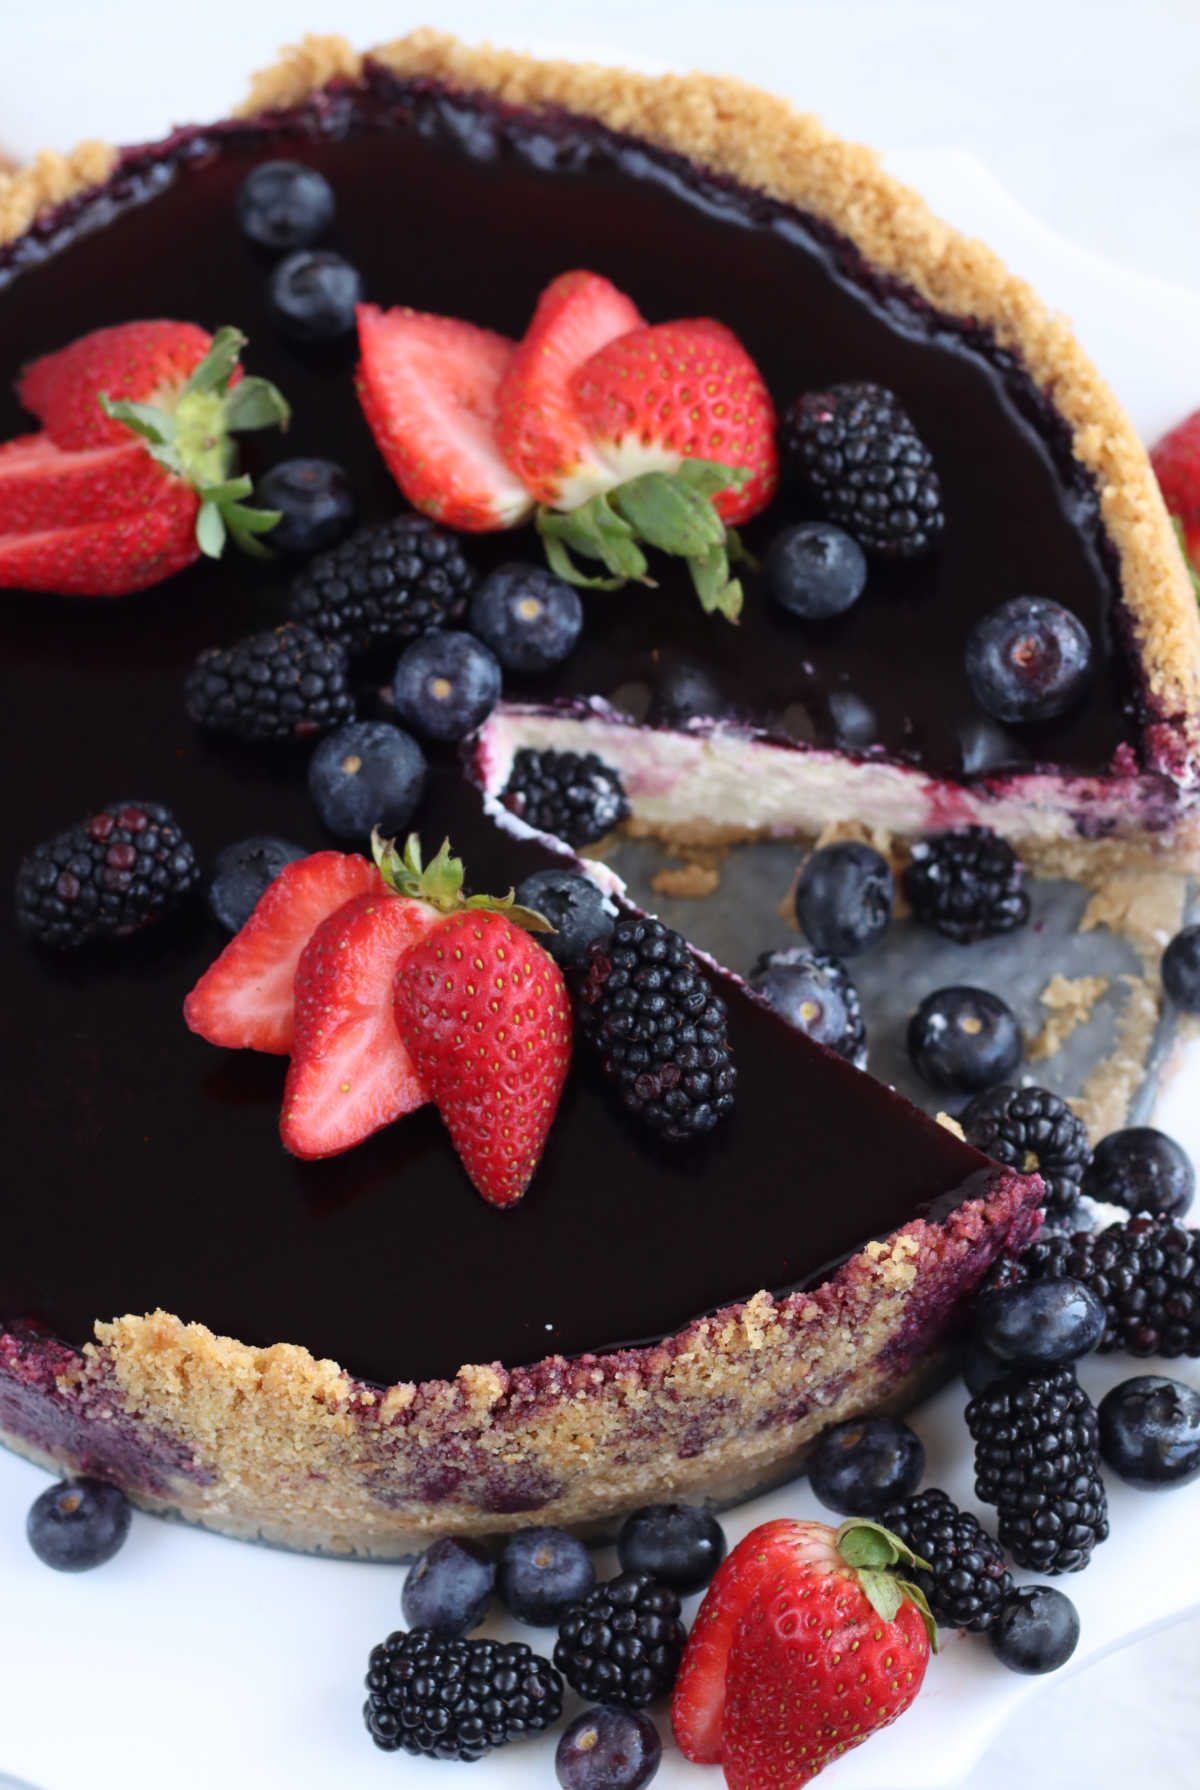
Classic Cheesecake with Dark Berry Topping
Indulge in the elegance of a timeless dessert with this Classic Cheesecake, elevated by a striking dark berry topping.
This New York-style cheesecake features a rich, creamy filling made with cream cheese, sour cream, and a hint of fresh lemon for brightness.
The buttery graham cracker crust provides the perfect foundation for the velvety texture.
But the showstopper is the dark berry topping—a luscious blend of blackberries, blueberries, raspberries, and a touch of raspberry Jell-O that adds a stunning finish and bursts of tart-sweet flavor.
Perfect for special occasions or when you want to impress, this cheesecake pairs beautifully with fresh berries as garnish for a spectacular presentation.
The contrast of creamy cheesecake and vibrant topping ensures every bite is unforgettable. Gosh, this looks so good!
For the full recipe and detailed instructions, click here.
Decadent Godiva Chocolate Cheesecake
Indulge in a slice of pure chocolate bliss with this Godiva Chocolate Cheesecake. Featuring a rich and creamy filling made from Godiva 72% dark chocolate and cream cheese, this dessert is a chocoholic’s dream.
The chocolate wafer crust adds a perfect crunch to complement the silky texture of the cheesecake, while the subtle hint of coffee enhances the deep chocolate flavor.
Whether topped with fresh raspberries for a fruity contrast or garnished with grated dark chocolate and optional vanilla whipped cream, this cheesecake is a show-stopping centerpiece for any celebration.
Perfect for special occasions or simply treating yourself, it’s an irresistible dessert that rivals anything from the Cheesecake Factory.
For the complete recipe and instructions, click here.

Red Velvet Molten Lava Cakes
Experience the magic of red velvet with these decadent molten lava cakes, perfect for an elegant dessert or a romantic night in.
The rich, velvety batter combines white chocolate, cocoa powder, and a vibrant red hue to create the ultimate indulgence.
When baked, the cakes form a delicate crust, while the center remains irresistibly gooey, offering a molten surprise with every bite.
These individual-sized cakes are a feast for the eyes and taste buds, ideal for impressing your guests or treating yourself to something special.
Dust with powdered sugar and serve warm for a show-stopping dessert.
For the full recipe and step-by-step instructions, click here.

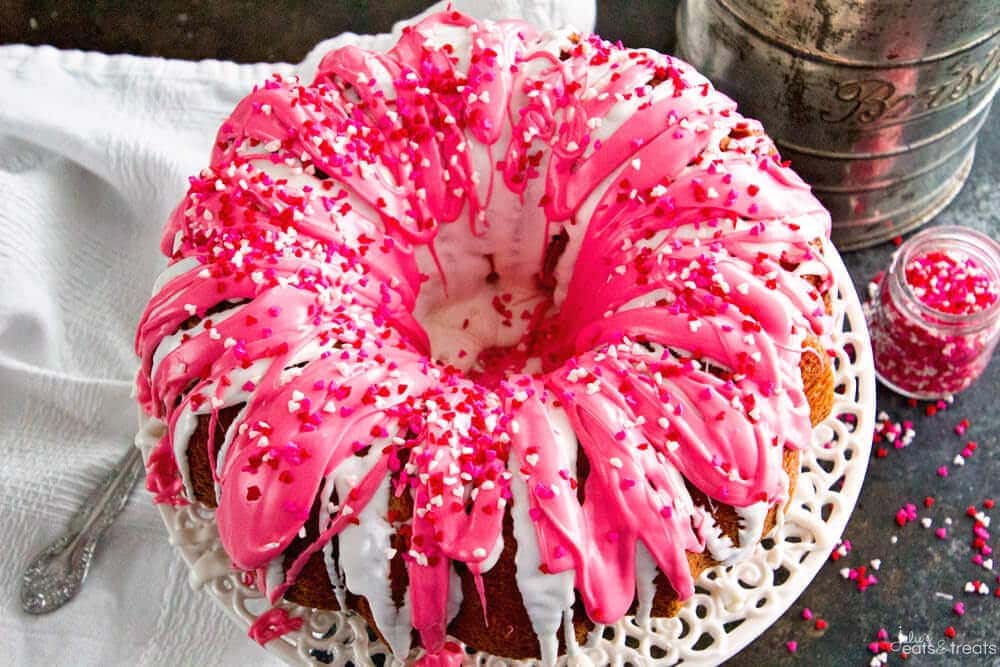
Valentine’s Swirl Bundt Cake
This delightful Valentine’s swirl cake is the perfect way to add a festive and sweet touch to your celebration.
Featuring a soft and moist white cake mix swirled with vibrant strawberry Jell-O, this dessert is as beautiful as it is delicious.
The swirling effect creates a stunning visual pattern, making it a centerpiece-worthy treat.
Topped with a luscious drizzle of white and pink frosting, this cake is easy to prepare yet impressively elegant.
It’s perfect for a romantic dinner, a Galentine’s gathering, or even a family treat.
To learn how to make this festive dessert, visit Julie’s Eats and Treats
Neapolitan Bonbon Cupcakes
These Neapolitan Bonbon Cupcakes bring a delightful trifecta of flavors perfect for Valentine’s Day, bridal showers, or spring celebrations.
Each cupcake starts with a rich chocolate base, baked to tender perfection.
The highlight is the dual buttercream layers: a classic vanilla layer piped in delicate stars and a strawberry-flavored pink frosting swirled generously in the center.
To complete the elegant look, the cupcakes are crowned with a decadent chocolate bonbon—Belgian or any favorite variety.
Crafted with simple ingredients and a touch of creativity, these cupcakes offer a deliciously nostalgic twist on Neapolitan flavors while doubling as a visual treat.
For full instructions and tips, visit Sprinkle Bakes.

Pink Champagne Cupcakes with Champagne Buttercream Frosting
Celebrate in style with these elegant Pink Champagne Cupcakes, perfect for New Year’s parties, Valentine’s Day, or any special occasion.
The cupcakes are soft, moist, and lightly infused with champagne, creating a delicate flavor profile that feels luxurious.
A hint of pink gel coloring gives them a charming blush tone, making them as delightful to look at as they are to eat.
The champagne buttercream frosting is the crowning touch, blending butter, shortening, and powdered sugar with a splash of champagne for a light, fluffy, and subtly boozy finish.
For an extra flourish, the frosting is piped in elegant swirls and topped with a dainty pink candy ball.
These cupcakes are a deliciously festive way to elevate your dessert table. Get the full recipe at CakeWhiz.

Strawberry Cheesecake Cookies
These Strawberry Cheesecake Cookies deliver a delightful combination of fruity sweetness and creamy indulgence, making them a standout treat for any occasion.
The outer layer features a bright, cake-like strawberry cookie made with cake mix, white chocolate chips, and fresh diced strawberries, giving each bite a vibrant and juicy flavor.
The real magic lies in the luscious cream cheese filling tucked inside.
The creamy, tangy filling balances the sweetness of the cookie perfectly, creating a dessert that’s both rich and refreshing.
Serve these cookies warm for a gooey center or chilled for a firmer bite.
They’re sure to be a hit at gatherings or as an everyday indulgence. Get the recipe at Lambert’s Lately.

Pink Strawberry Champagne Cookies
These Pink Strawberry Champagne Cookies are a delightful way to add a pop of color and fun to any occasion.
Perfect for parties, bridal showers, or just because, these cookies are soft, chewy, and full of subtle strawberry flavor with a sparkling champagne twist.
The cookie dough is made from scratch with classic sugar cookie ingredients, and the batter is tinted a rosy hue with pink food coloring.
Rolled in vibrant sprinkles before baking, these cookies have a festive look that makes them stand out on any dessert table.
Each bite offers a melt-in-your-mouth texture with a sweet, bubbly essence reminiscent of champagne.
Find the full recipe and baking tips at The Soccer Mom Blog.

Red Velvet Donuts with Cream Cheese Glaze
These Red Velvet Donuts are the ultimate baked treat for fans of this classic flavor.
The donuts are soft and fluffy, and feature the rich cocoa-infused taste and vibrant red hue synonymous with red velvet.
Made with buttermilk and a touch of vinegar, they achieve that signature tangy flavor and tender crumb without the need for frying.
Topping it all off is a creamy and decadent cream cheese glaze.
The smooth sweetness of the glaze perfectly complements the subtle cocoa notes in the donuts, creating a bakery-worthy delight you can easily whip up at home.
Whether for brunch, dessert, or a special celebration, these donuts are guaranteed to impress.
Find the recipe at My Happy Bakes,

Strawberry Brownies
If you’re in search of a quick, easy dessert bursting with fruity flavor, these Strawberry Brownies are a must-try.
Made with a simple strawberry cake mix, eggs, and oil, this recipe comes together in minutes, making it perfect for last-minute treats.
The result? A dense, chewy brownie with a delightful strawberry flavor that’s sure to please any crowd.
The finishing touch is a luscious glaze made from powdered sugar, strawberry preserves, and an optional hint of cream cheese for extra richness.
Get the full recipe at Fantabulosity.

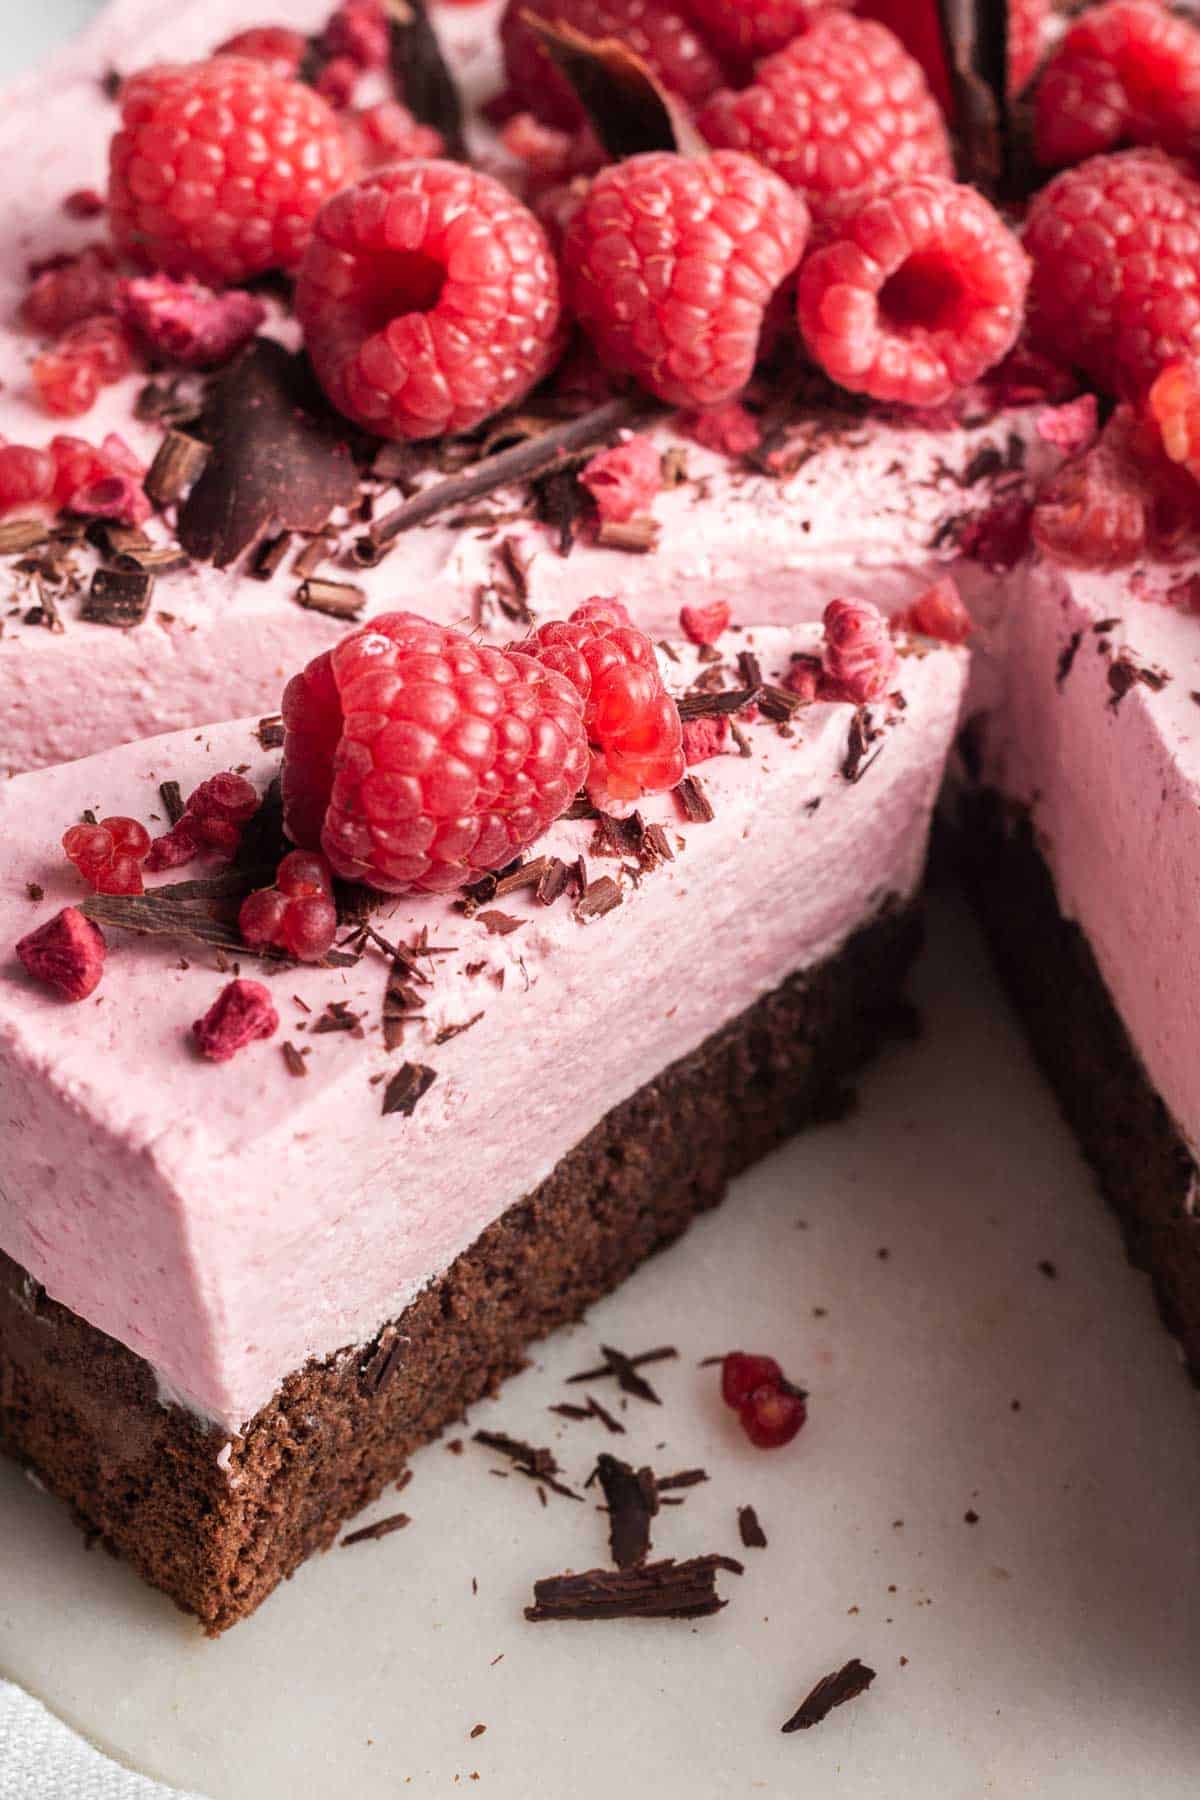
Chocolate Raspberry Mousse Cake
This Chocolate Raspberry Mousse Cake is a decadent yet refreshing treat, perfect for Valentine’s Day or any special occasion.
The airy chocolate sponge serves as the ideal foundation for a light and creamy raspberry mousse, highlighting the natural sweetness and tang of fresh raspberries.
The combination of rich chocolate and the fruity brightness of raspberries creates a harmonious balance that is both indulgent and elegant.
Decorated with fresh raspberries and dark chocolate shavings, this cake is as stunning as it is delicious.
The layers of flavor and texture make it a show-stopping dessert that’s surprisingly achievable with step-by-step preparation.
Find the full recipe at Emma Duckworth Bakes.
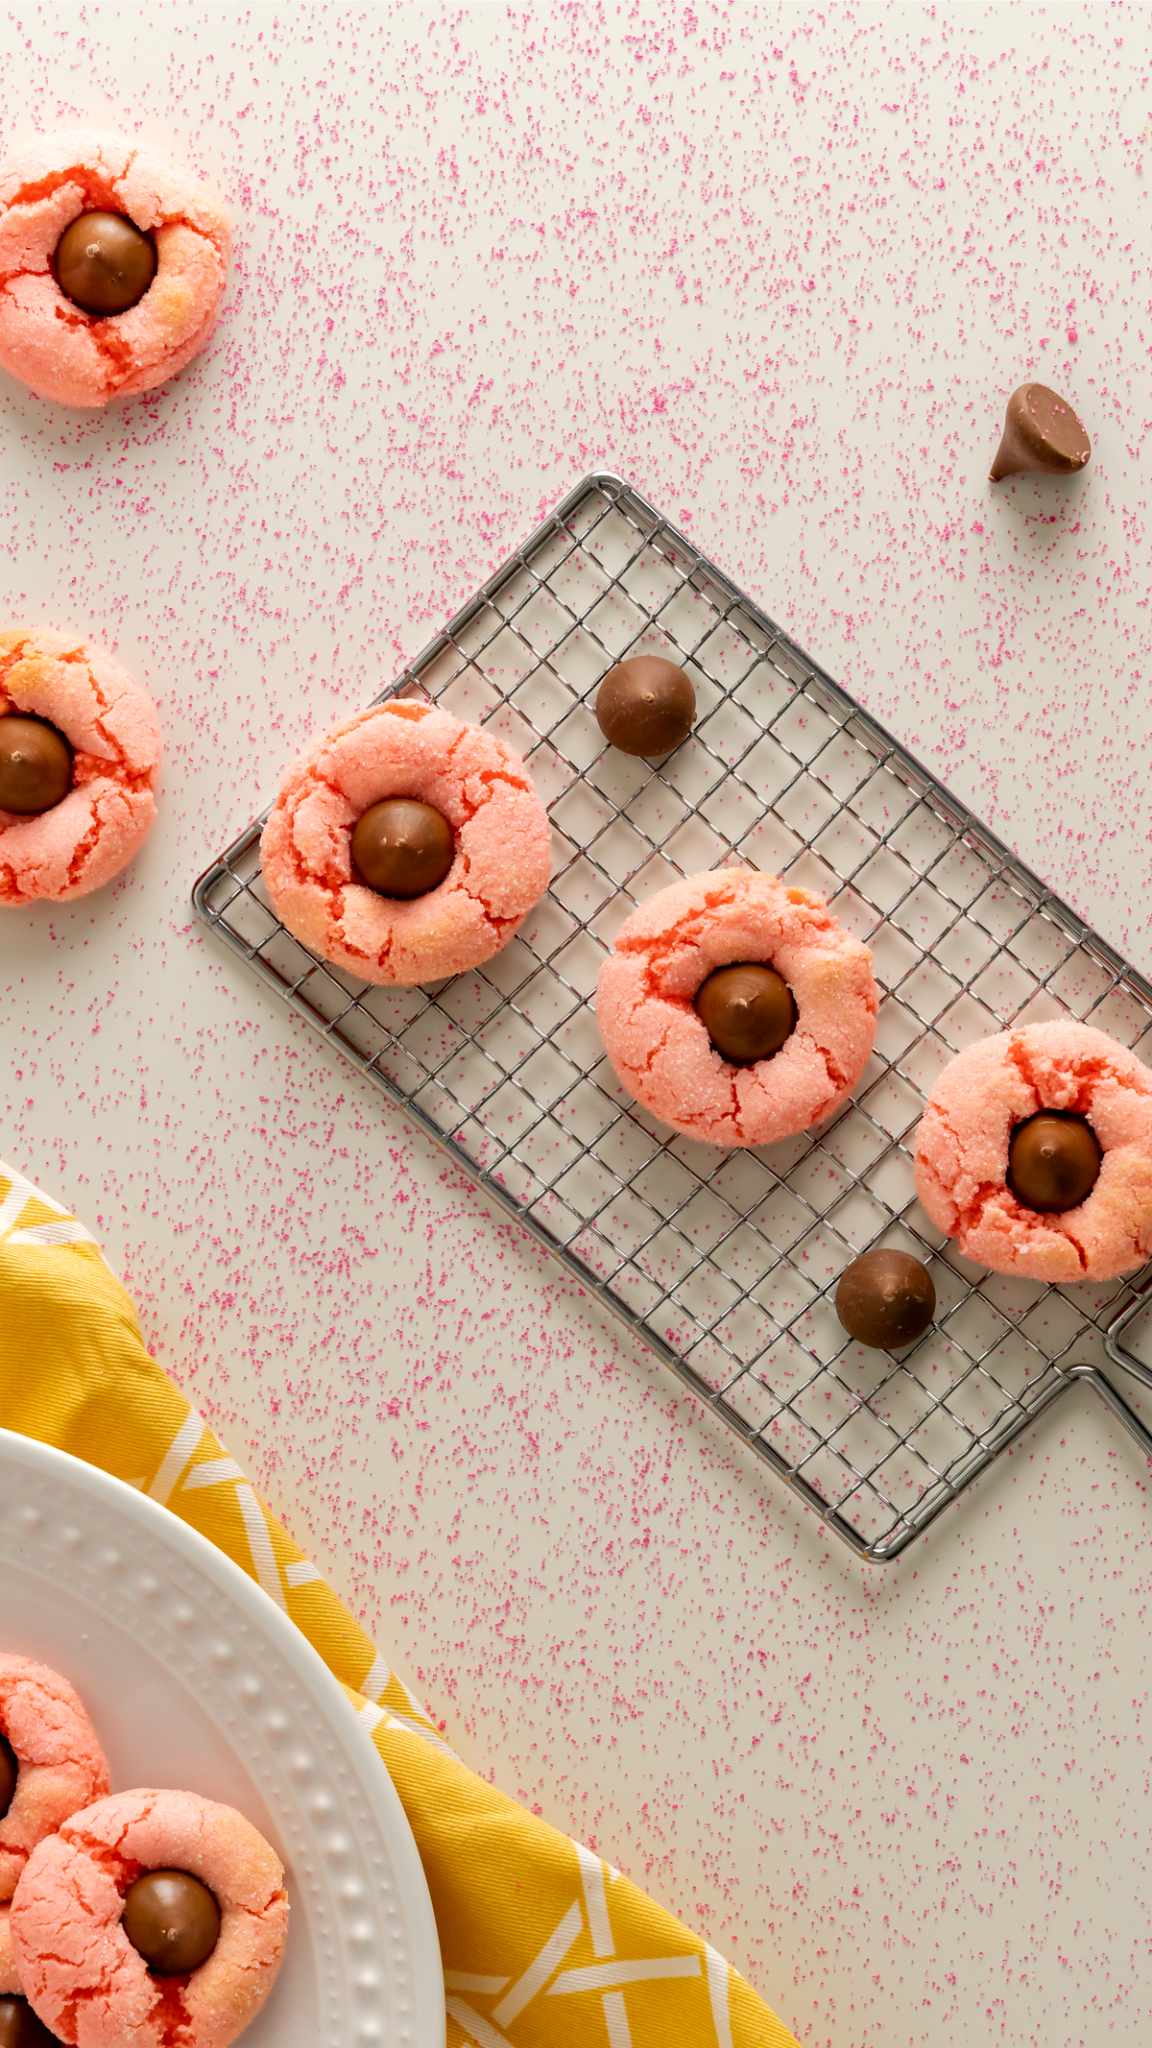
Strawberry Kiss Cookies
These Strawberry Kiss Cookies are a delightful twist on a classic treat, perfect for Valentine’s Day or any festive occasion.
Made with strawberry cake mix, these cookies are soft, chewy, and bursting with strawberry flavor.
Each cookie is rolled in granulated sugar for a touch of sparkle and crowned with a rich Hershey Kiss for a chocolatey center.
The combination of fruity sweetness and velvety chocolate makes these cookies a crowd-pleasing dessert.
Quick and easy to prepare, these cookies bake up in just minutes, making them ideal for last-minute treats or fun baking projects with kids.
For the full recipe and tips, visit Mama Needs Cake.
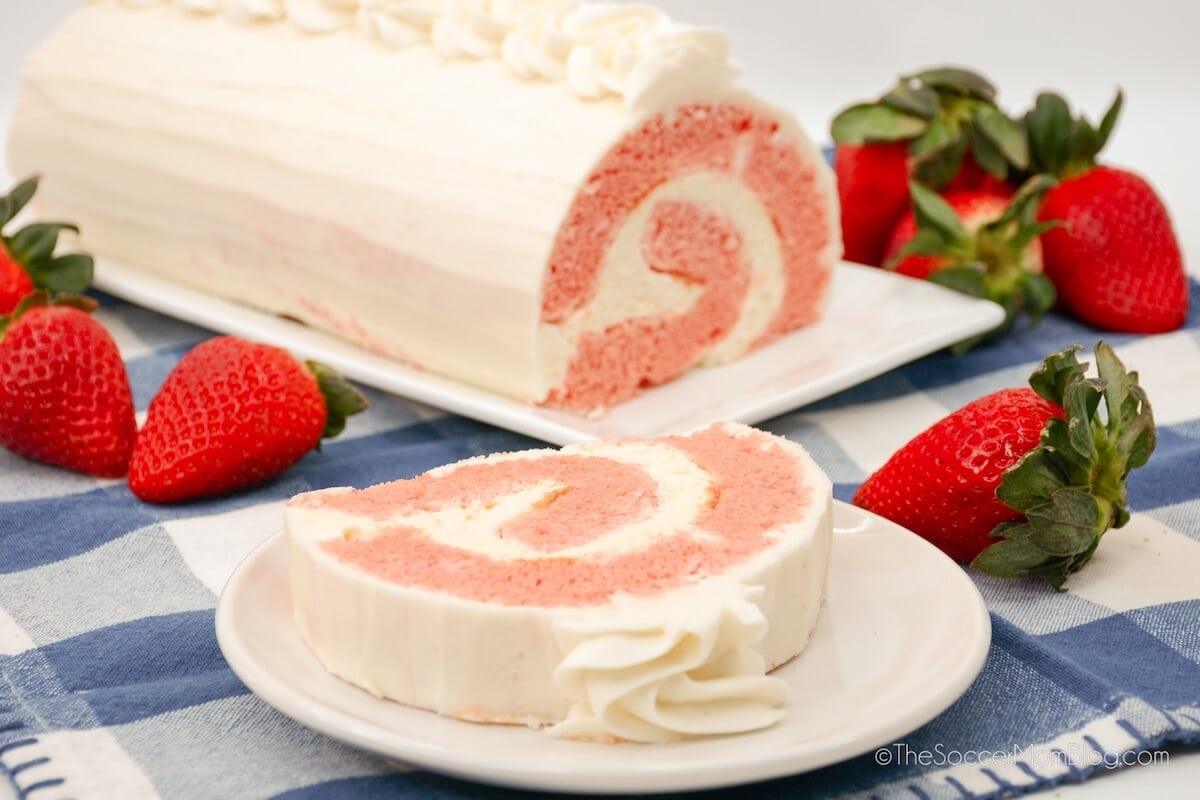
Strawberry Cake Roll
The Strawberry Cake Roll is a stunning dessert that combines light, fluffy cake with creamy, indulgent frosting.
This vibrant treat is ideal for special occasions, from Valentine’s Day to summer parties.
A rolled sponge cake made with strawberry cake mix creates the perfect canvas for a rich cream cheese frosting filling.
The process may look impressive, but it’s simpler than it seems, with straightforward steps to guide you through creating this show-stopping dessert.
The soft, moist cake is balanced perfectly by the tangy, sweet frosting, making each bite irresistible.
Get all the details and tips for this dessert at The Soccer Mom Blog
Red Velvet Brownies with Cream Cheese Frosting
Red Velvet Brownies bring a perfect combination of richness and elegance to your dessert table.
These soft and chewy bars feature the signature deep red hue of classic red velvet, achieved with a touch of red food coloring.
The brownie base is enhanced with melted semi-sweet chocolate for extra decadence, while a dash of apple cider vinegar balances the sweetness and adds a subtle tang.
Topped with a smooth and creamy layer of cream cheese frosting, these brownies are taken to the next level with a sprinkling of shaved white chocolate for a stunning finish.
Get the full recipe and step-by-step instructions at Little Sunny Kitchen.

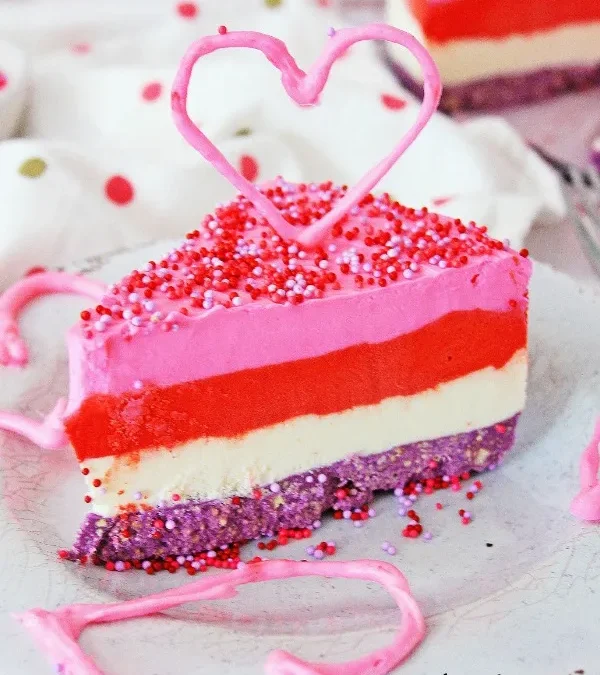
Valentine Cheesecake
This Valentine’s Cheesecake is a showstopper dessert that will melt hearts with its vibrant layers of color and creamy texture.
It’s so pretty and unique looking!
Starting with a purple shortbread crust made from Keebler shortbread, this cheesecake builds into three luscious layers: a white base, a vivid red middle, and a pastel pink top.
Each layer is flavored with a perfectly balanced blend of cream cheese, sour cream, and a hint of vanilla, making every bite smooth and tangy.
The whipped cream folded into the cheesecake mixture gives it an airy, melt-in-your-mouth quality.
To complete the romantic look, the cake is frozen in stages to ensure perfectly set layers.
Once ready to serve, you can decorate the cheesecake with festive hearts or whipped cream for a holiday-inspired touch.
See the full recipe and detailed instructions at Maria’s Mixing Bowl.
No matter how you celebrate Valentine’s Day, the right dessert can make the day even sweeter.
From rich chocolate creations to colorful, playful treats, these recipes are sure to impress your loved ones and create lasting memories.
So grab your apron, spread the love, and enjoy every delicious bite of this heartwarming holiday!
Pin It On Pinterest For Later!